Let’s be honest for a second. Most store-bought keto bread is kind of a letdown.
You spend $8 or $9 on a tiny loaf, get it home, and it’s either dense as a brick, weirdly spongy, or tastes like an egg omelet pretending to be bread. I went through at least six different brands before I gave up and decided to figure this out myself in my own kitchen.
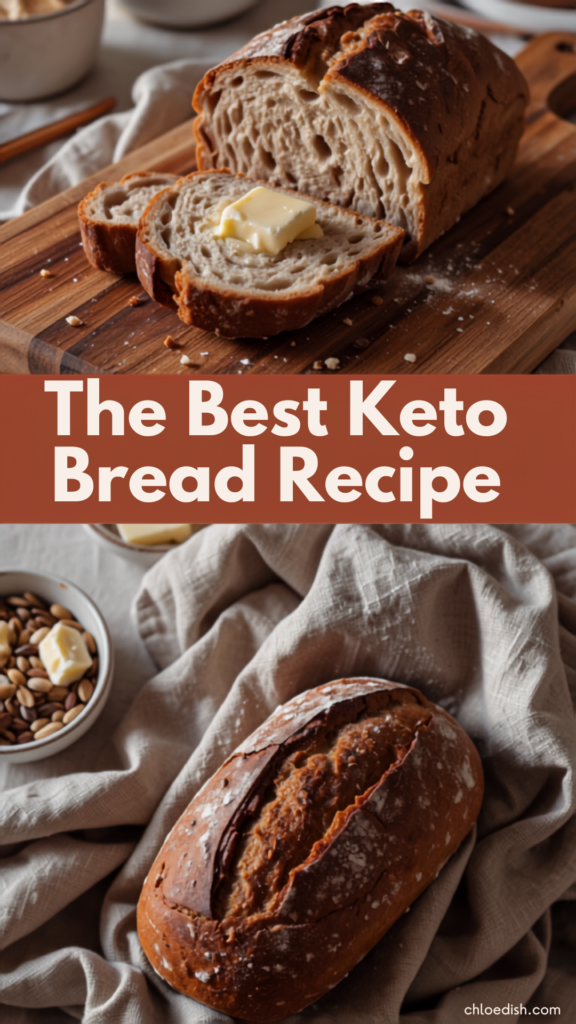
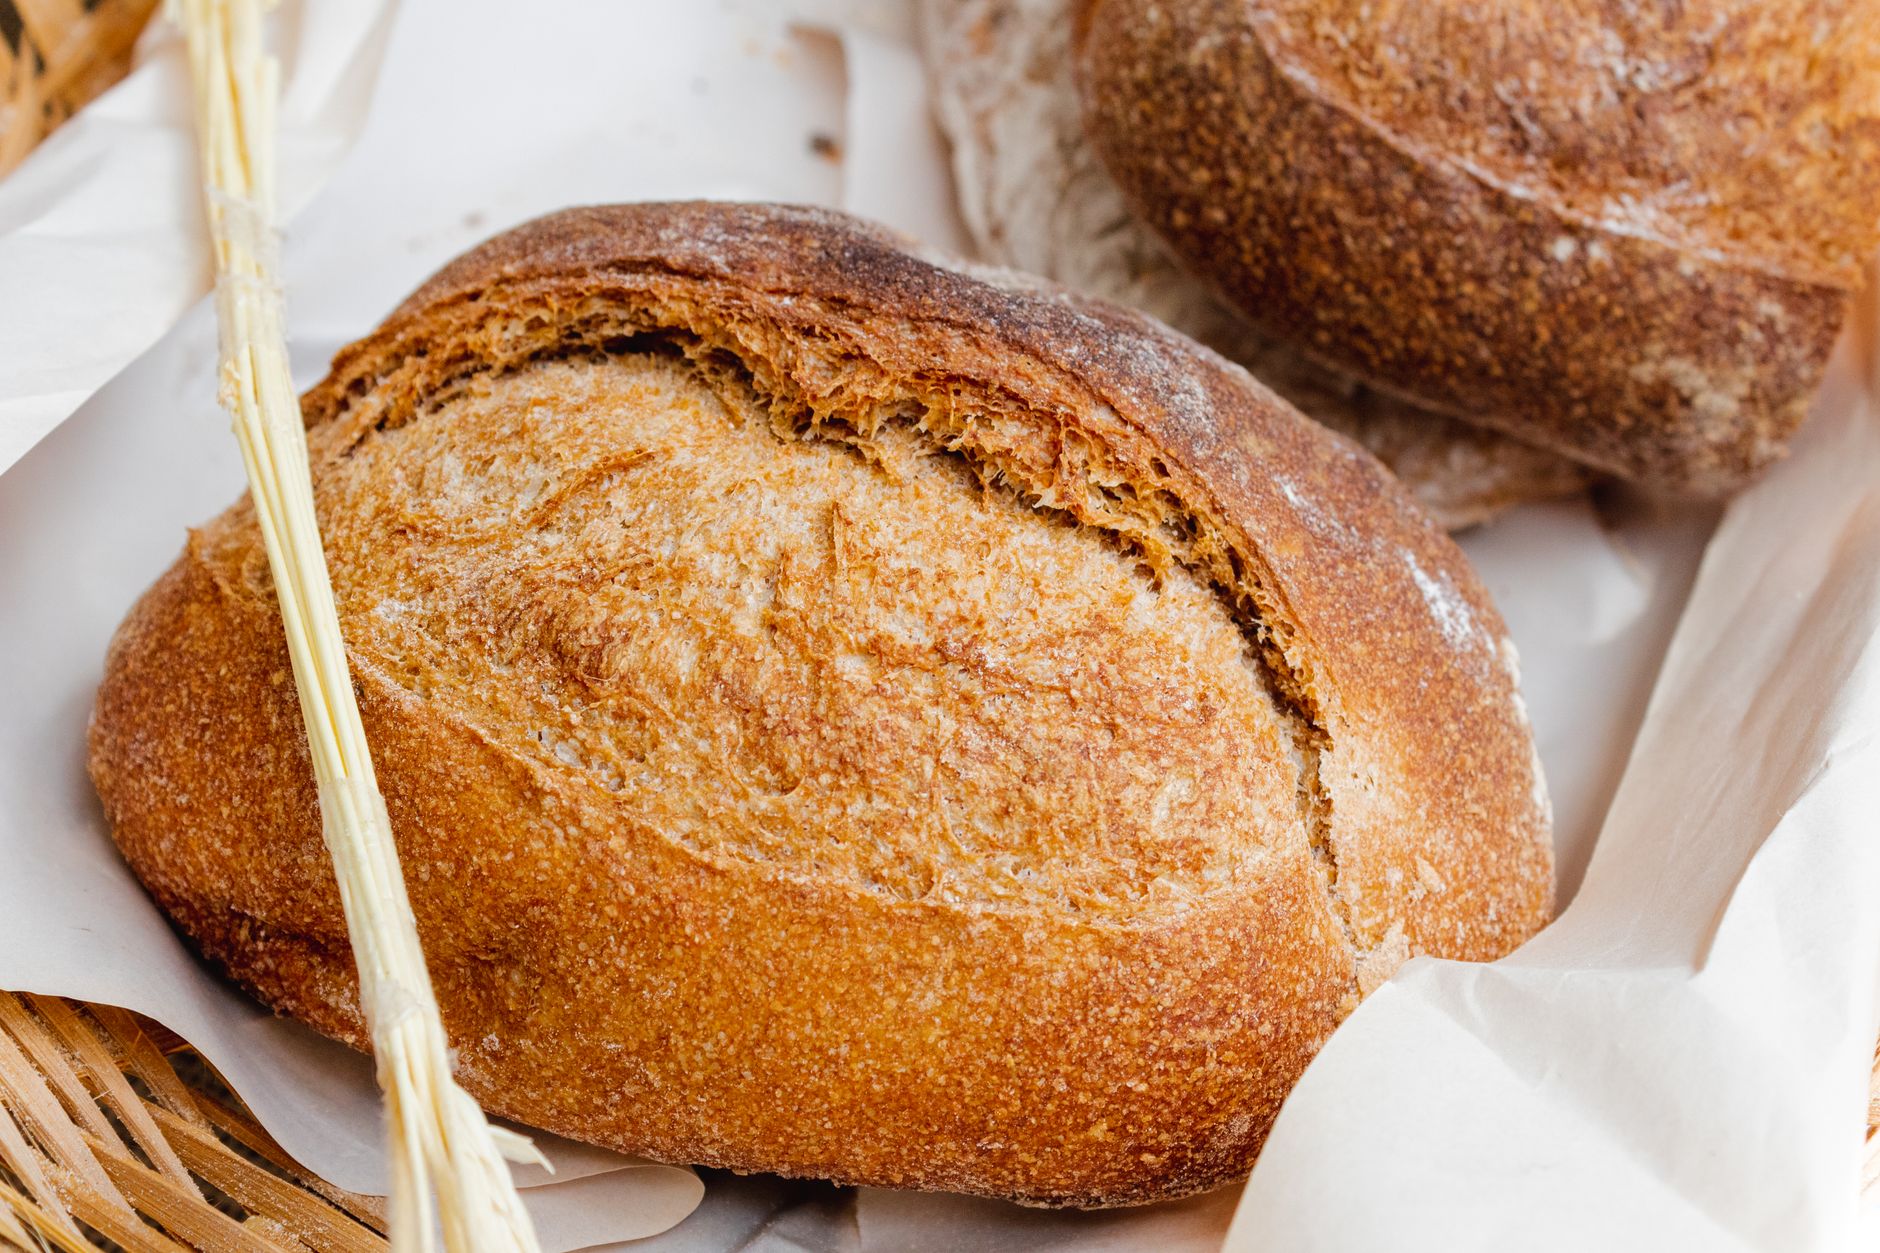
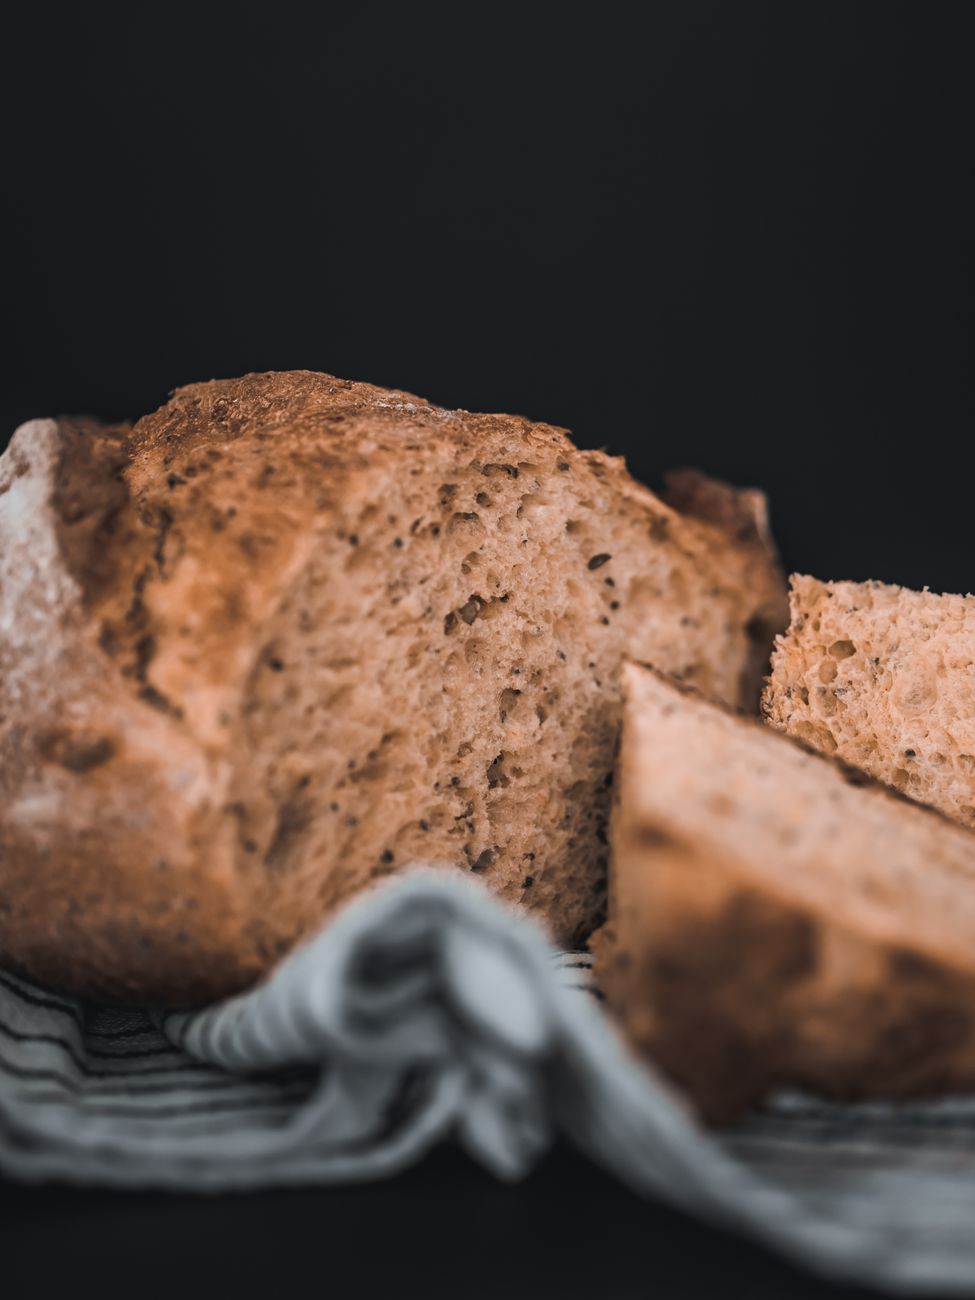
That decision changed everything. This keto bread recipe is soft. It’s fluffy. It slices clean without crumbling apart in your hand. And it actually tastes like bread — not a sad low carb stand-in for it.
Here’s what you’re getting with this recipe:
- A soft, fluffy crumb that holds together for sandwiches
- A texture that toasts up golden and crisp, just like regular bread
- An ingredient list you probably already have in your pantry
- Beginner-friendly steps, even if you’ve never baked keto before
- A loaf that freezes beautifully, so you always have bread on hand
- A recipe that costs a fraction of what you’d pay at the store
The biggest shift in my own keto baking happened once I understood a few small techniques that most recipes never mention — things like how psyllium husk actually behaves in dough, or why resting time matters more than people think. Once those pieces clicked, my bread stopped being “fine for keto” and started being genuinely good.
If you want to go deeper into that kind of foolproof technique, The Ultimate Keto Baking Bundle is a resource I keep coming back to. It’s packed with tested keto baking recipes — breads, bagels, buns, cookies, and desserts — along with the troubleshooting knowledge that saves you from wasting ingredients on flops. I mention it because it genuinely shortened my learning curve, not because I’m trying to sell you something you don’t need.
Now, let’s get into the bread.
Why You’ll Love This Keto Bread {#why-youll-love-this-keto-bread}
This isn’t just “acceptable for keto.” This is bread you’ll want to eat regardless of the diet you’re on.
- Soft and fluffy — a real, tender crumb, not a dense brick
- Low carb — fits easily into your daily carb count
- Gluten free — built entirely on almond flour, no wheat at all
- High fat, satisfying — keeps you full longer than regular bread
- Freezer friendly — slice it, freeze it, grab a piece whenever
- Perfect for sandwiches — sturdy enough to hold fillings without falling apart
- Toasts beautifully — crisp edges, soft center
- Way better than pricey store brands — and a lot more satisfying
- Budget friendly — a fraction of the cost per loaf compared to store-bought
Once you taste a warm slice fresh out of the oven with butter melting into it, you’ll understand why I stopped buying keto bread from the store completely.
Why Most Keto Bread Recipes Fail {#why-most-keto-bread-recipes-fail}
If you’ve tried keto bread before and been disappointed, it’s probably not your fault. Most recipes floating around online have the same handful of problems.
- Too eggy — too many eggs relative to flour makes bread taste like a frittata
- Dense texture — not enough leavening or the wrong flour ratio
- Doesn’t rise — old baking powder or skipping the rest period
- Dry crumb — too much almond flour without enough fat or moisture
- Falls apart when sliced — missing a binder like psyllium husk
- Bitter aftertaste — often from too much baking powder
- Wrong flour ratios — almond flour needs balance, not just bulk
- Overmixing the dough — this breaks down structure and creates gumminess
- Wrong baking temperature — too hot burns the outside before the inside sets
This recipe solves every one of these problems directly. The ratio of almond flour to psyllium husk is dialed in specifically for structure. The resting period lets the psyllium fully hydrate, which is the difference between crumbly bread and bread that slices like a dream. And the baking temperature here is set to cook the center through without drying out the crust.
Ingredients {#ingredients}
Here’s what goes into this loaf, and why each ingredient matters.
- Almond flour — the base of the bread. Use finely ground blanched almond flour, not almond meal, for the best texture.
- Psyllium husk powder — this is the secret to that soft, bread-like chew. It absorbs moisture and creates elasticity that almond flour alone can’t achieve.
- Baking powder — your rising agent. Make sure it’s fresh; old baking powder is the number one reason keto bread doesn’t rise.
- Eggs — provide structure and richness, but not so many that the bread tastes eggy.
- Butter — adds moisture and that classic buttery bread flavor. Melted and slightly cooled works best.
- Apple cider vinegar — reacts with the baking powder to help the dough rise and gives a subtle tang, similar to sourdough.
- Warm water — activates the psyllium husk and helps everything bind together.
- Salt — balances the flavor so the bread doesn’t taste flat.
Substitutions: Ghee or coconut oil can replace butter for a dairy-free version. If you don’t have psyllium husk, know that the texture will be noticeably different — it’s genuinely hard to replace here, so I’d recommend sourcing it rather than skipping it.
Kitchen Equipment {#kitchen-equipment}
- Loaf pan (8.5 x 4.5 inch works great)
- Parchment paper
- Large mixing bowl
- Hand mixer or stand mixer (optional but helpful)
- Rubber spatula
- Cooling rack
- Sharp bread knife for slicing
Step-by-Step Instructions {#step-by-step-instructions}
Step 1: Prep your pan and oven Preheat your oven and line your loaf pan with parchment paper, leaving an overhang on the sides. This makes it easy to lift the bread out later without wrestling with it.
Step 2: Mix your dry ingredients Combine the almond flour, psyllium husk, baking powder, and salt in a large bowl. Whisk them together well. This step matters more than people think — clumps of psyllium husk create weird pockets in your finished bread.
Step 3: Mix your wet ingredients In a separate bowl, whisk together the eggs, melted butter, apple cider vinegar, and warm water.
Step 4: Combine Pour the wet mixture into the dry ingredients. Mix just until combined — you’re looking for a thick, slightly sticky dough. Don’t overmix here. Overworking the dough breaks down the structure and can make your bread gummy in the center.
Step 5: Let the dough rest This is the step everyone skips, and it’s the one that matters most. Let the dough sit for 5–10 minutes. The psyllium husk needs this time to absorb the liquid and firm up. You’ll actually see the dough change texture right before your eyes.
Step 6: Shape the loaf Transfer the dough into your prepared loaf pan. Wet your hands slightly and smooth the top so it bakes evenly.
Step 7: Bake Bake until the top is deep golden brown and a toothpick inserted in the center comes out clean. The bread should sound slightly hollow when you tap the bottom.
Step 8: Cool completely This part takes patience, but it’s non-negotiable. Let the bread cool completely on a rack before slicing. Cutting into it warm causes the crumb to compress and turn gummy, even if the bread is baked perfectly.
Expert Tips for Soft & Fluffy Keto Bread {#expert-tips}
- Always use finely ground almond flour, not almond meal — meal is too coarse and creates a grainy texture.
- Check your baking powder’s freshness before you start. Old baking powder is the top reason for flat bread.
- Let the dough rest fully — don’t rush this step even if you’re hungry and impatient (I get it).
- Room temperature eggs blend more evenly into the batter.
- Don’t skip the apple cider vinegar — it does real work here, not just flavor.
- Weigh your almond flour with a kitchen scale if you can. Scooping with a cup can pack in too much flour.
- Avoid overmixing once the wet and dry ingredients combine.
- Smooth the top of the loaf before baking for an even rise.
- Bake on the middle rack for the most even heat distribution.
- Rotate the pan halfway through baking if your oven runs unevenly.
- Use a light-colored metal loaf pan — dark pans can cause over-browning on the crust.
- Don’t open the oven door too early; it can cause the loaf to sink in the middle.
- Always cool completely before slicing, even if it smells incredible.
- Store leftover slices with parchment between them to prevent sticking.
- If your bread seems dense, check your almond flour brand — some are ground finer than others and behave differently.
Common Mistakes to Avoid {#common-mistakes}
- Using almond meal instead of almond flour — swap to finely ground blanched almond flour.
- Skipping the rest period — always give the dough its 5–10 minutes.
- Old baking powder — test it in warm water first; it should fizz actively.
- Overmixing the batter — mix just until combined.
- Slicing while warm — wait for a full cool-down.
- Too much almond flour — measure carefully, ideally by weight.
- Baking at too high a temperature — this dries out the crumb before the center sets.
- Not lining the pan — parchment prevents sticking and tearing.
- Using cold butter — melted, slightly cooled butter blends more evenly.
- Skipping the vinegar — it plays a real structural role, not just flavor.
- Not checking for doneness properly — always test with a toothpick in the very center.
- Storing bread while still warm — trapped steam makes it soggy; cool fully first.
Variations {#variations}
Once you’ve mastered the base recipe, it’s fun to play with:
- Cheese keto bread — fold in shredded cheddar or mozzarella before baking
- Garlic bread — add garlic powder and brush the top with garlic butter after baking
- Herb bread — mix in rosemary, thyme, or Italian seasoning
- Sandwich loaf — bake in a standard loaf pan and slice thin for sandwiches
- Rolls — divide the dough into individual portions and bake for less time
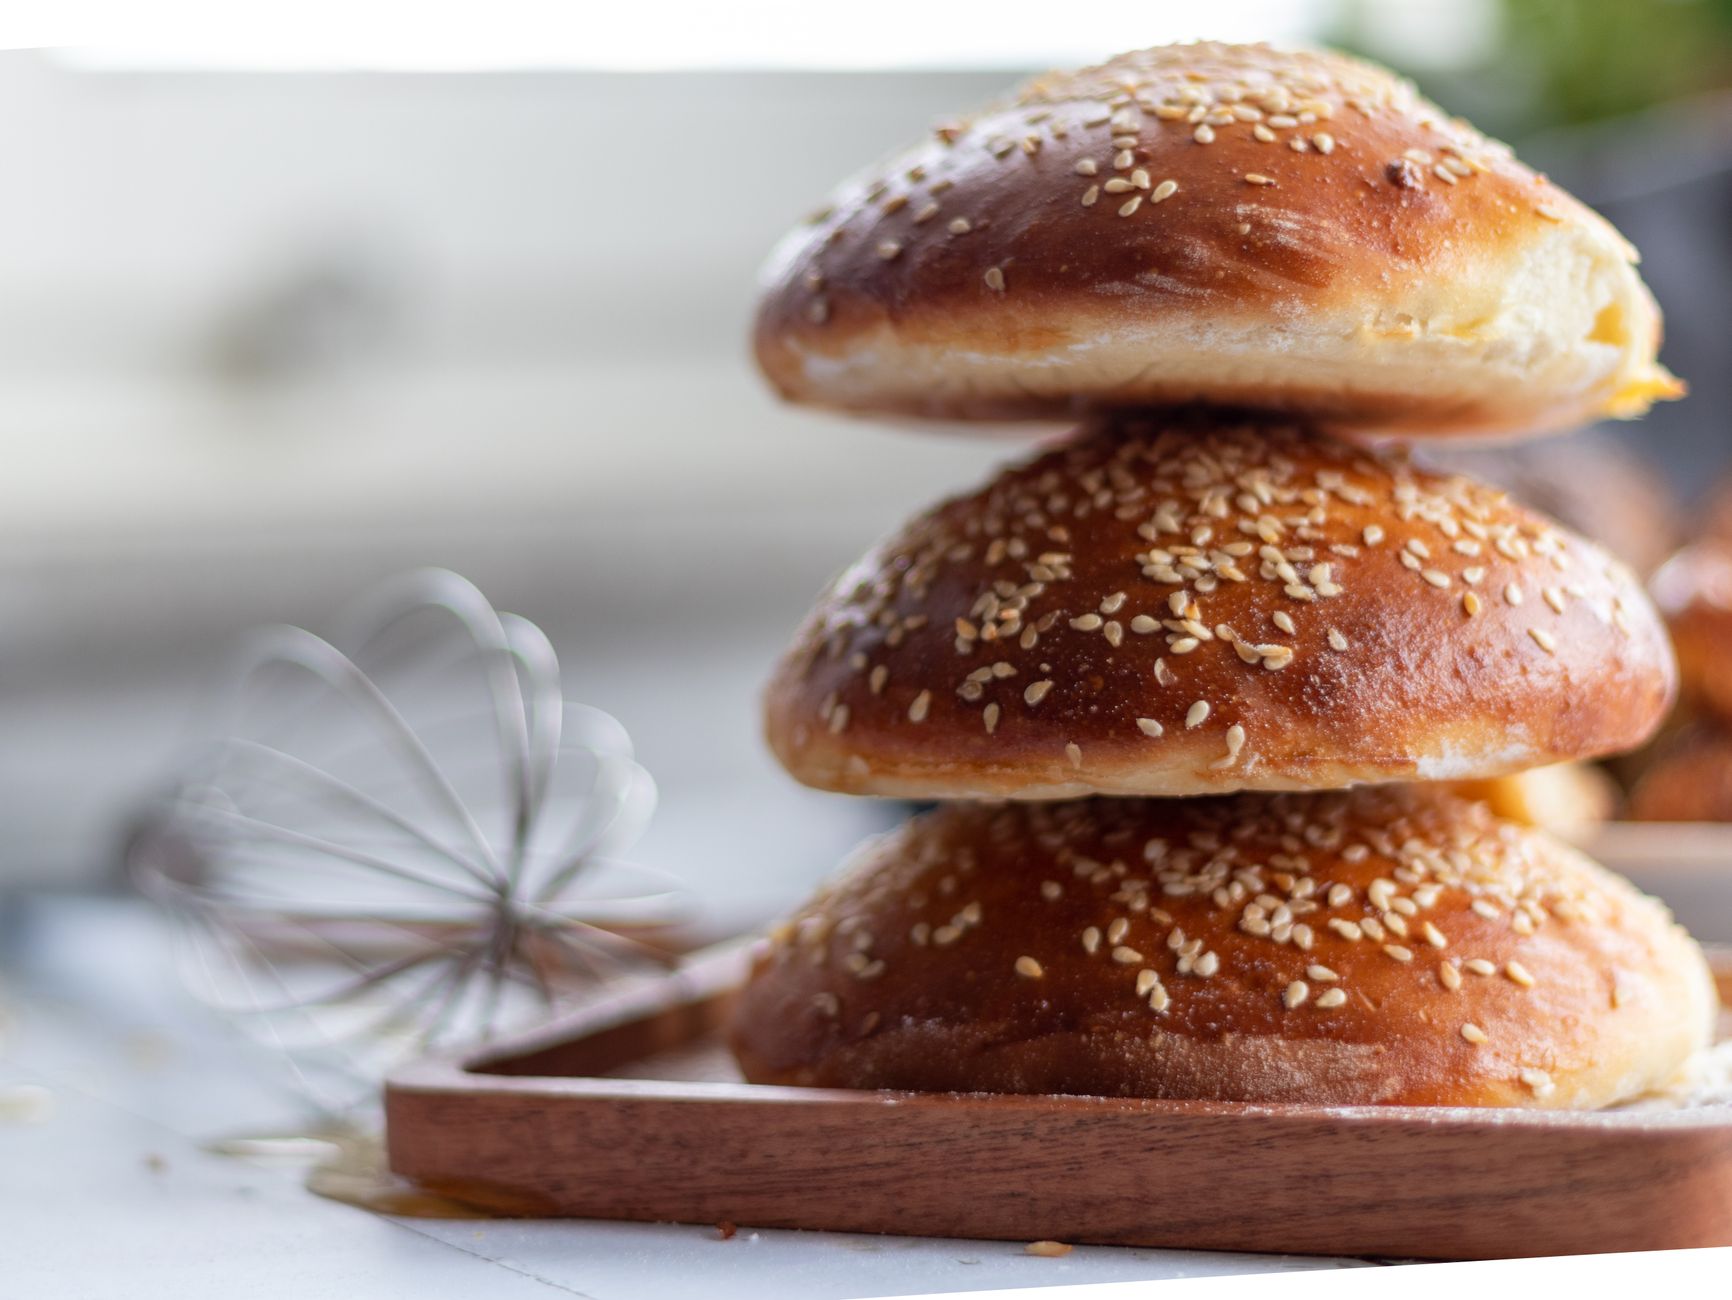
- Hamburger buns — shape into rounds for burger night
- Dinner rolls — smaller portions, perfect for holiday tables
- Everything bagel version — sprinkle everything bagel seasoning on top before baking
Best Toppings {#best-toppings}
- Grass-fed butter
- Sugar-free jam
- Avocado and sea salt
- Almond butter
- Cream cheese
- Sugar-free honey substitute
- Soft scrambled eggs
- Smoked salmon and cream cheese
- Sliced tomato and olive oil
- Cinnamon and a sugar substitute for a sweet version
What to Serve with Keto Bread {#what-to-serve-with}
Breakfast: Toasted with butter and eggs, or as the base for avocado toast.
Lunch: Turkey and cheese sandwiches, BLTs, or grilled cheese with a side salad.
Dinner: Alongside soups, stews, or as garlic bread with a low carb pasta dish.
Snacks: Toasted with almond butter, or as mini open-faced bites with cream cheese.
Meal prep: Slice and portion into containers for grab-and-go breakfasts or lunches all week.
Storage Tips {#storage-tips}
- Counter: Store in an airtight container for up to 2 days at room temperature.
- Refrigerator: Keeps well for up to a week when wrapped tightly.
- Freezer: Slice before freezing so you can grab individual pieces. Freezes well for up to 3 months.
- Reheating: Warm slices in a toaster oven or skillet to restore texture.
- Toasting: This bread toasts up wonderfully — crisp outside, soft inside, just like traditional bread.
Meal Prep Tips {#meal-prep-tips}
If you go through bread quickly, consider doubling the recipe and baking two loaves at once. Slice both loaves completely, then freeze one right away in a labeled freezer bag with parchment between slices. This way you always have a backup loaf ready without needing to bake mid-week. Pull out only what you need each morning, and it thaws or toasts in minutes.
Nutritional Benefits {#nutritional-benefits}
- Low carb — fits comfortably within daily keto carb goals
- Healthy fats — almond flour and butter provide satiating fats
- Protein — eggs and almond flour both contribute protein per slice
- Fiber — psyllium husk adds fiber that most breads lack entirely
- Blood sugar friendly — minimal impact compared to wheat-based bread
- Gluten free — suitable for those avoiding gluten for any reason
Frequently Asked Questions {#faq}
Why is my keto bread purple or gray? This happens with certain brands of psyllium husk that react with baking soda or baking powder. Try a different brand of psyllium husk if you notice this discoloration.
Why is my bread dense instead of fluffy? Usually this comes down to old baking powder, too much almond flour, or skipping the rest period before baking.
Can I use coconut flour instead of almond flour? Not as a direct swap. Coconut flour absorbs liquid very differently, so you’d need a completely different ratio of wet ingredients.
Can I make this dairy free? Yes, swap the butter for ghee or a neutral coconut oil.
Can I freeze this bread? Absolutely. Slice it first, then freeze with parchment between slices for easy single-serving access.
Can I toast this bread? Yes, it toasts beautifully and holds up well to a toaster or skillet.
How many carbs are in a slice? This varies slightly depending on your exact almond flour brand, but keto bread like this is typically very low in net carbs per slice compared to regular bread.
Can beginners make this recipe? Yes. If you can whisk, pour, and wait, you can make this bread. It’s genuinely one of the easier keto recipes to start with.
Why did my bread collapse in the middle? This is often from opening the oven door too early, underbaking, or old baking powder that didn’t provide enough lift.
How do I get a better texture overall? Weigh your almond flour, don’t skip the resting period, and don’t overmix the batter once combined.
Can I add sweeteners for a sweet bread version? Yes, a keto-friendly sweetener can be added for a slightly sweet loaf, great for French toast.
Why does my bread taste eggy? This usually means the egg-to-flour ratio is off, or the recipe you used relied too heavily on eggs for structure.
Can I make this into rolls instead of a loaf? Yes, just divide the dough into smaller portions and reduce the baking time accordingly.
Does this recipe work at high altitude? You may need to slightly reduce the baking powder and increase baking time; high altitude baking often needs small adjustments.
Is this bread suitable for sandwiches? Yes, that’s exactly what it’s built for. It holds up well to fillings without falling apart.
Keto Baking Secrets {#keto-baking-secrets}
A few things took my keto baking from “okay” to genuinely good:
- Resting time is not optional. Psyllium husk needs time to hydrate fully before baking.
- Weigh your flour. Volume measurements vary too much between brands and how packed the cup is.
- Fresh baking powder matters more in keto baking than in regular baking, since there’s no gluten structure to fall back on for lift.
- Cooling completely changes everything. Cutting into warm keto bread almost always makes it seem gummier than it actually is.
Learning these small details made a bigger difference than any single ingredient swap. If you want a deeper library of tested techniques like these — for bagels, buns, cookies, and beyond — The Ultimate Keto Baking Bundle walks through the troubleshooting side of keto baking in a way most free recipes online just don’t cover. It’s been genuinely useful for filling in the gaps I didn’t know I had.
More Keto Baking Recipes Readers Will Love {#more-recipes}
If this bread recipe worked out for you, you’ll probably enjoy expanding into:
- Keto Bagels
- Keto Dinner Rolls
- Keto Pizza Dough
- Keto Hamburger Buns
- Keto Cinnamon Rolls
- Keto Muffins
- Keto Cookies
Many of these are covered in detail inside The Ultimate Keto Baking Bundle, which is a solid next step if you want to keep building out your keto baking repertoire beyond just bread.
Conclusion {#conclusion}
Homemade keto bread has a reputation problem, and honestly, it’s earned it — a lot of recipes out there really are dense, eggy, or dry. But this one isn’t. It’s soft, it slices cleanly, it toasts up beautifully, and it makes a sandwich that actually feels like a sandwich again.
Once you make it, it’s genuinely hard to go back to paying store prices for a loaf that doesn’t compare. This version is:
- Softer
- Fresher
- Healthier, with no unnecessary fillers
- Fully customizable to your taste
- More affordable per loaf than any store-bought option
If you enjoyed this recipe and want to keep building your keto baking skills, The Ultimate Keto Baking Bundle is worth a look — it’s full of foolproof recipes for breads, desserts, and pastries that take the guesswork out of keto baking for good.
Give this bread a try this week. I think it might just become your new go-to.