If you’ve ever spread store-bought jam on your toast and thought, “this just tastes like sugar,” you’re not alone. So many jars on grocery store shelves are packed with corn syrup, artificial flavoring, and barely any actual fruit. It’s disappointing, especially when you remember what real fruit jam is supposed to taste like.
Maybe that’s exactly why you’re here. Perhaps you’ve got a bowl of fresh blackberries sitting on your counter, picked from your garden or grabbed on sale at the farmers market, and they’re starting to look a little soft. You know they won’t last much longer, but you hate the idea of letting them go to waste.
This easy Homemade Blackberry Jam Recipe solves both of those problems at once. It turns those ripe, slightly-too-soft blackberries into a small batch of rich, glossy jam that tastes like actual blackberries — not sugar syrup with purple food coloring. And it does it with just a handful of ingredients you probably already have in your kitchen.
Better yet, this recipe doesn’t require any special canning equipment, pectin, or years of preserving experience. If you can stir a pot and set a timer, you can make this jam.
Quick note before we dive in: if you love simple homemade recipes like this one and you’re also looking for fast, healthy meals to round out your week, a lot of readers here also keep a copy of The Best Low Carb Recipes in Less Than 10 Minutes on hand. It’s a free eBook full of quick meal ideas that pair nicely with homemade pantry staples like this jam. More on that later — for now, let’s get into the jam.
Why Homemade Blackberry Jam Is Better Than Store-Bought
Once you make your own jam, it’s genuinely hard to go back to the store-bought stuff. Here’s why.
Fresher flavor. Homemade jam tastes like the fruit it’s made from. There’s no mystery aftertaste, just bright, real blackberry flavor in every bite.
Fewer ingredients. Most homemade jam recipes use three or four ingredients. Compare that to a store-bought label with a dozen items you can’t pronounce.
No artificial preservatives. You control exactly what goes into your jar. No high fructose corn syrup, no artificial dyes, no preservatives you don’t recognize.
Adjustable sweetness. Store-bought jam is often overly sweet because sugar is cheap and shelf-stable. When you make it yourself, you decide how sweet you want it.
Better texture. Homemade jam has a rustic, slightly chunky texture with real fruit pieces, not the uniform, gelatin-like consistency of mass-produced jam.
More affordable. A pint of fresh or frozen blackberries costs far less than what you’d pay for the same amount of gourmet jam at a specialty store.
Great for gifting. A small jar of homemade jam tied with twine makes a thoughtful, personal gift for neighbors, teachers, or hostess gifts. It feels a lot more special than something bought off a shelf.
💡 Quick Tips Box
- Taste your blackberries before you start — riper berries need less sugar
- Use a light-colored pot so you can see the jam’s color change as it cooks
- Chill a small plate in the freezer before you start — you’ll need it for the wrinkle test later
Why This Recipe Works
This particular Homemade Blackberry Jam Recipe has become a reader favorite for a few simple reasons.
- Beginner friendly. No prior canning or preserving experience needed
- Uses simple ingredients. Just blackberries, sugar, and lemon juice
- No special equipment required. A pot, a spoon, and jars are all you need
- Ready in under an hour. From start to finish, including cooling time for testing
- Perfect consistency. Thick enough to spread, but never gummy or stiff
- Great for freezing. Skip the canning process entirely and freeze it instead
- Small batch friendly. This recipe makes a manageable amount, so you’re not stuck processing a huge harvest all at once
Because it’s a small batch recipe, it’s also incredibly forgiving. If something goes slightly off, you’ve only lost a few cups of berries, not an entire summer’s harvest.
Choosing the Best Blackberries
Good jam starts with good fruit. Here’s what to look for.
Fresh vs. Frozen Berries
Fresh blackberries are ideal when they’re in season, but frozen blackberries work beautifully too. In fact, frozen berries are often picked and frozen at peak ripeness, so don’t feel like you need to wait for summer to make this recipe.
If using frozen berries, there’s no need to thaw them first. Just add a few extra minutes to your cooking time to account for the extra liquid.
How to Identify Ripe Berries
Ripe blackberries are:
- Deep black in color, not reddish or purple
- Plump and slightly soft to the touch
- Easy to pull from the stem without resistance
- Fragrant, with a noticeably sweet smell
Avoid berries that are still red or hard. Those were picked too early and will taste more tart than sweet.
Sweet vs. Tart Berries
Blackberry sweetness can vary quite a bit depending on the variety and how ripe they are. If your berries taste more tart than sweet when you sample one, you may want to add a touch more sugar to balance the flavor.
Washing and Storing Blackberries
Rinse blackberries gently under cool water right before you’re ready to use them. Washing them too far in advance can cause them to get mushy faster. Pat them dry with a clean towel, and if you’re not using them immediately, store them in a single layer in the refrigerator.
When Blackberries Are in Season
In most parts of the United States, blackberry season runs from late June through August, with July typically being peak season. This is when you’ll find the best prices and the ripest, most flavorful berries at farmers markets and grocery stores.
The Secret to Perfect Homemade Jam
There’s a bit of simple kitchen science behind great jam, and understanding it will make you a more confident jam maker.
The Role of Sugar
Sugar does more than sweeten your jam. It also helps preserve it and plays a part in helping the jam set properly. Reducing sugar too much can affect both the texture and shelf life, so it’s best to follow the recipe ratios closely, especially your first time.
Why Lemon Juice Matters
Lemon juice isn’t just for flavor. The acidity helps the jam set and also brightens the natural sweetness of the blackberries, keeping the flavor from tasting flat or overly sugary.
Proper Cooking Temperature
Jam typically sets between 220°F and 222°F, which is about 8 degrees above the boiling point of water. If you have a candy thermometer, this is the easiest way to know exactly when your jam is ready.
How to Test for Doneness
No thermometer? No problem. Try the wrinkle test:
- Before you start cooking, place a small plate in the freezer
- Once your jam has been simmering for a while, drop a small spoonful onto the cold plate
- Wait 30 seconds, then push the jam with your finger
- If it wrinkles and holds its shape, it’s ready. If it’s still runny, keep cooking and test again in a few minutes
Why Jam Thickens as It Cools
Don’t panic if your jam looks a little thin while it’s still hot in the pot. Jam continues to thicken significantly as it cools, both on the stove and after it’s jarred. If you cook it until it looks perfectly thick while hot, it will likely be too stiff once it cools completely.
Common Mistakes to Avoid
⚠️ Common Mistakes Box
Overcooking the jam. Cooking too long makes jam thick, sticky, and hard to spread once cooled. Remember, it thickens more as it cools, so pull it off the heat a little earlier than you think you should.
Not stirring enough. Jam can scorch on the bottom of the pot quickly, especially as it thickens. Stir frequently, especially toward the end of cooking.
Using underripe fruit. Underripe blackberries are more tart and contain less natural sweetness, which can throw off the flavor balance of your finished jam.
Filling jars while too hot. Adding jam to jars while it’s boiling hot can cause the jars to crack, especially glass jars that haven’t been warmed first. Let the jam cool slightly before filling.
Skipping the wrinkle test. Guessing at doneness is the number one reason homemade jam turns out too runny or too stiff. Always test before you call it done.
Improper jar sterilization. If you plan to store your jam at room temperature for any length of time, jars need to be properly sterilized first. If you’re simply refrigerating or freezing your jam, this step is less critical, but clean jars are still a must.
Creative Ways to Use Blackberry Jam
Once you’ve got a jar of this jam in your fridge, you’ll find yourself reaching for it constantly. Here are some favorite ways to use it:
- Spread generously on warm toast
- Swirled into fresh biscuits
- Drizzled over pancakes or waffles
- Stirred into plain yogurt for natural sweetness
- Spooned over a slice of cheesecake
- Filled inside thumbprint cookies
- Melted slightly and poured over vanilla ice cream
- Stirred into a warm bowl of oatmeal
- Added to a charcuterie board alongside cheese and crackers
- The star of a classic PB&J sandwich
- Used as a filling for homemade pastries or turnovers
Storage & Meal Prep Tips
🧊 Meal Prep & Storage Box
Refrigerator storage: Once opened (or if not processed for shelf-stable canning), homemade blackberry jam keeps well in the refrigerator for about 3 to 4 weeks.
Freezer storage: For longer storage, freeze jam in freezer-safe containers or jars, leaving a little headspace for expansion. It will keep well for up to a year in the freezer.
Sterilized jars: If you want your jam to be shelf-stable at room temperature, you’ll need to properly sterilize your jars and follow safe canning practices, including processing in a water bath.
Shelf life: Properly canned and sealed jam can last up to a year in a cool, dark pantry.
Batch cooking: Since blackberry season is short, consider making a few batches at once while berries are at their peak, then freezing extra jars for later in the year.
Gift ideas: Small 4-ounce jars, a piece of fabric or twine tied around the lid, and a simple handwritten label make for a beautiful homemade gift.
Speaking of meal prep, if you’re someone who likes having simple, homemade staples ready to go, you’ll probably also appreciate having a few fast meal ideas on hand for busy weeknights. That’s exactly what The Best Low Carb Recipes in Less Than 10 Minutes offers. It’s a free eBook packed with quick, healthy recipes that pair well with homemade staples like this jam, perfect for when you don’t have a lot of time to cook but still want something wholesome.
Frequently Asked Questions
Can I use frozen blackberries? Yes. Frozen blackberries work great in this recipe. There’s no need to thaw them first, just allow a few extra minutes of cooking time since they release more liquid as they cook.
Do I need pectin? No, this recipe doesn’t require added pectin. Blackberries have natural pectin, and combined with the lemon juice and sugar, this jam sets beautifully on its own with a bit of simmering time.
Why didn’t my jam thicken? This is usually caused by not cooking the jam long enough, or not reaching a high enough temperature. Make sure you’re doing the wrinkle test (or checking for 220–222°F) before removing it from the heat.
Can I reduce the sugar? You can reduce it slightly, but keep in mind sugar plays a role in both flavor and how well the jam sets. Significant reductions may result in a runnier jam with a shorter shelf life.
Can I can this recipe? Yes, this recipe can be processed using standard water bath canning methods for shelf-stable storage. Just be sure to use proper sterilization and processing times for your jar size and altitude.
How long does homemade jam last? In the refrigerator, about 3 to 4 weeks. In the freezer, up to a year. Properly canned and sealed, up to a year in the pantry.
Can I double the recipe? You can, though jam sets best in smaller batches. If doubling, you may need to extend the cooking time and test doneness a bit more carefully.
How do I know when it’s done? The most reliable way is the wrinkle test described above, or using a candy thermometer to check for 220–222°F.
Can I use mixed berries? Absolutely. This method works well with a mix of blackberries, raspberries, or blueberries if you want to experiment with flavor combinations.
Why did my jam crystallize? This can happen if the sugar wasn’t fully dissolved before boiling, or if the jam was cooked at too high a temperature for too long. Stir well early in the cooking process to help the sugar dissolve completely.
🍽️ Readers Also Ask Many readers who make this jam also ask what else they can whip up quickly during a busy week. If that sounds like you, the free Best Low Carb Recipes in Less Than 10 Minutes eBook is worth grabbing. It’s full of simple, fast recipes that fit right alongside homemade staples like this jam.
Pro Tips for the Best Blackberry Jam
⭐ Key Takeaways Box
- Use ripe, deep-black blackberries for the best natural sweetness
- Don’t skip the lemon juice — it helps the jam set and balances flavor
- Test doneness with the wrinkle test rather than guessing
- Let the jam cool slightly before jarring to protect your glass jars
- Remember, jam thickens more as it cools, so don’t overcook it
- Small batches are easier to control and more forgiving for beginners
A few more things I’ve learned from years of jam-making:
- If your jam turns out a little too thin, you can always simmer it a bit longer. It’s much harder to fix jam that’s overcooked, so it’s better to check early and often.
- Skimming off any foam that forms on top while cooking gives your jam a clearer, glossier finish.
- Letting the jam rest for a minute or two off the heat before jarring helps distribute the fruit more evenly, so you don’t end up with all the berries at the bottom of the jar.
Conclusion
Making your own Homemade Blackberry Jam Recipe is easier than most people expect. With just a few simple ingredients, no special equipment, and about an hour of your time, you can turn fresh or frozen blackberries into a jar of jam that tastes far better than anything you’ll find at the store.
It’s budget-friendly, beginner-friendly, and a wonderful way to preserve the best flavors of blackberry season all year long. Whether you’re spreading it on toast, gifting it to a friend, or using it to elevate a simple dessert, this jam is bound to become a staple in your kitchen.
If you give this recipe a try, I’d love to hear how it turned out. Drop a comment below and let me know, and if you found this helpful, please share it on Pinterest so other home cooks can find it too.
And before you go, if you enjoyed making something simple and homemade like this jam, don’t forget to grab your free copy of The Best Low Carb Recipes in Less Than 10 Minutes. It’s packed with quick, healthy recipes that make weeknight cooking so much easier, and it’s completely free to download.
Happy jam-making!
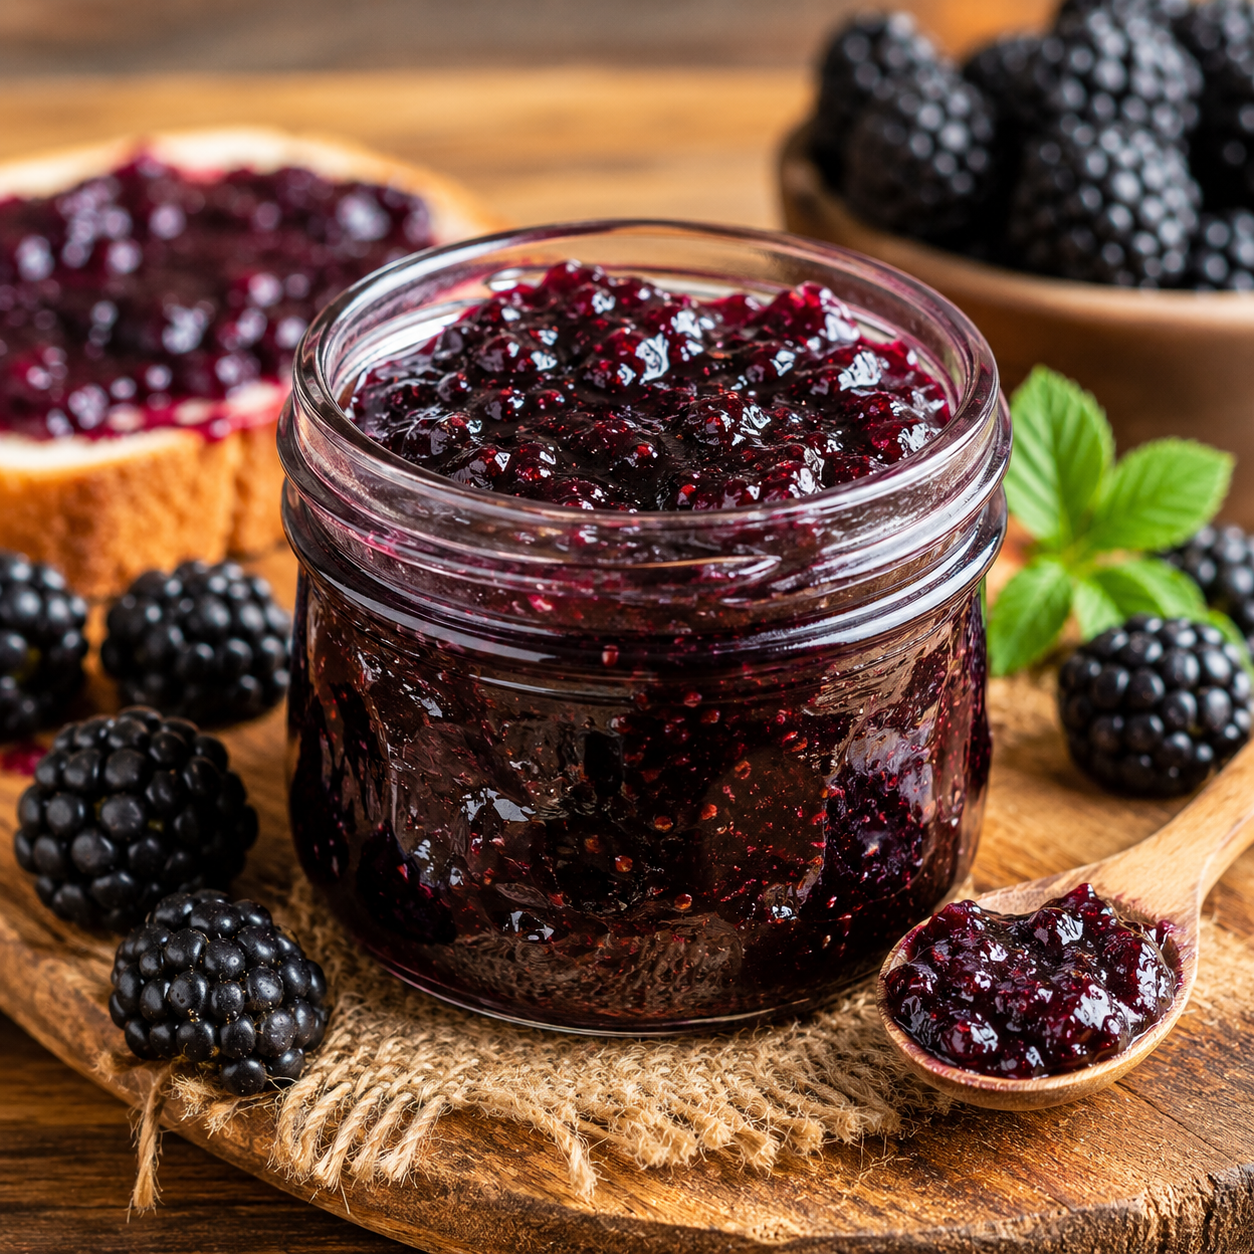
Homemade Blackberry Jam Recipe
Ingredients
Equipment
Method
- Wash the blackberries thoroughly and remove any stems or damaged berries. Pat them dry with a clean kitchen towel.
- Place the blackberries in a large saucepan and gently mash them using a potato masher, leaving some small berry pieces for texture.
- Add the granulated sugar, lemon juice, lemon zest (if using), and a pinch of salt. Stir until the sugar begins to dissolve.
- Bring the mixture to a gentle boil over medium-high heat, stirring frequently to prevent sticking.
- Reduce the heat to medium and simmer for 20–25 minutes, stirring often, until the jam thickens.
- Test the jam by placing a small spoonful on a chilled plate. If it wrinkles when pushed with your finger, it's ready.
- Remove from the heat and stir in the vanilla extract if using. Let the jam cool for about 10 minutes before transferring it to sterilized jars.
- Allow the jars to cool completely before sealing and storing them in the refrigerator or freezer.
Notes
• Stir frequently during cooking to prevent the jam from sticking or burning.
• The jam will continue to thicken as it cools.
• Store in sterilized jars to extend freshness.
• This jam is delicious on toast, biscuits, pancakes, yogurt, cheesecake, or as a filling for pastries.