
You know the feeling. It’s 8 p.m., you’ve eaten well all day, and suddenly your brain is chanting “chocolate, chocolate, chocolate” like it’s got somewhere to be. You open the pantry. You close it. You open it again. Ten minutes later you’re standing at the counter with a spoon in a jar of something you swore you weren’t going to touch, and now you’re annoyed at yourself, and the whole evening feels a little derailed.
I’ve been there more times than I’d like to admit. For a long time, my solution was just… white-knuckling it. Ignore the craving, distract myself, go to bed a little grumpy. That works for exactly one night before it stops working at all.
What actually fixed it for me wasn’t willpower. It was having something in the freezer that scratched the exact itch chocolate cravings go after — rich, a little bitter, satisfyingly crunchy — without a truckload of sugar attached to it. That’s this dark chocolate bark. It’s got real dark chocolate, a scoop of protein powder folded right in, and whatever crunchy toppings you’re in the mood for. No baking, no fancy equipment, and it sets up in the freezer while you do literally anything else.
I make a batch of this almost every week now. It’s become one of those recipes I don’t even think about anymore — it’s just part of how I keep dessert in my life without dessert running my life.
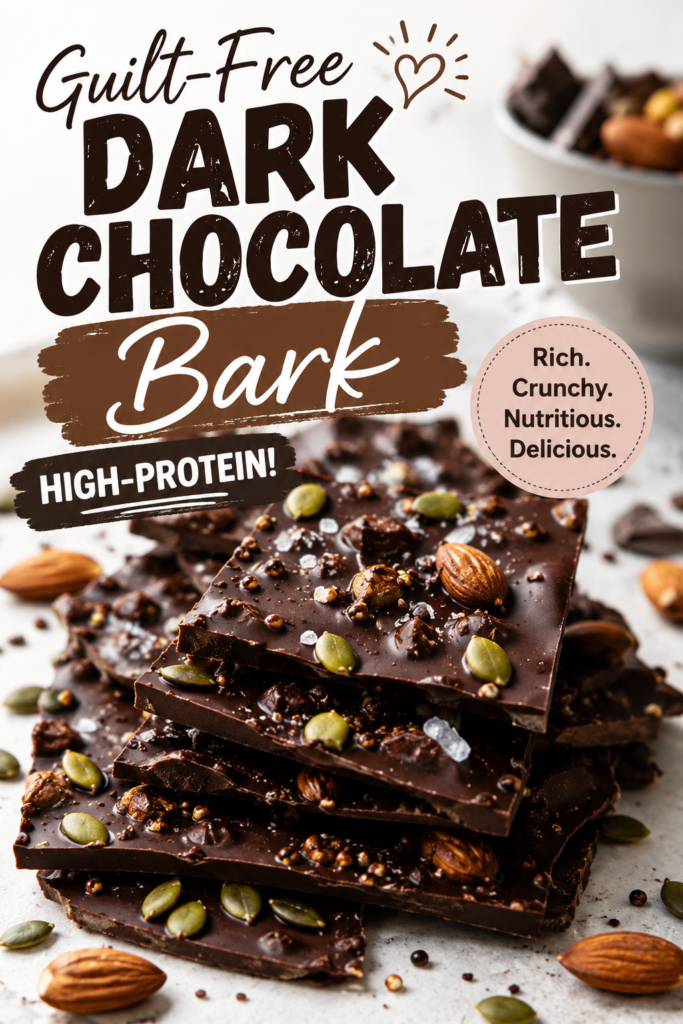
⚡️ Free Ultimate Keto Meal Plan eBooks ⚡️
If you’re looking for more easy keto recipes like this one, plus a complete roadmap for staying on track without overthinking every meal, you can grab these Free Ultimate Keto Meal Plan eBooks here: Get the free eBooks
Why You’ll Love This Recipe
This isn’t a “healthy dessert” in the sad, chalky, tastes-like-cardboard sense. It’s genuinely good — dark, snappy, a little salty if you want it to be — and it happens to fit into pretty much any way you’re currently eating.
- High protein. A scoop of protein powder is whisked right into the melted chocolate, so every piece is doing double duty as a snack that actually fills you up.
- Low carb and keto-friendly. Made with sugar-free dark chocolate, this fits comfortably into a keto or low-carb day without any mental math.
- Sugar-free. No added sugar, no sugar crash an hour later, no guilt trip.
- Quick to make. You’re looking at maybe 15 minutes of hands-on time. The freezer does the rest.
- Ridiculously easy. If you can melt chocolate and pour it onto a tray, you can make this. There’s no recipe skill required here — I promise.
- Meal prep friendly. Make one batch, portion it out, and you’ve got grab-and-go snacks for the whole week.
- Freezer friendly. This bark actually gets better after a day or two in the freezer, which makes it one of the lowest-effort make-ahead treats I know.
- Endlessly customizable. Nuts, seeds, dried berries, a swirl of nut butter, flaky sea salt — you can make a completely different bark every time using the same base recipe.
Because this fits so naturally into a keto routine, I also want to point you toward a resource that’s helped a lot of readers pull their whole approach together, not just their desserts.
The Ultimate Guide to Weight Loss and Proven Diet Plans is a great companion if you’re trying to build sustainable habits around a keto lifestyle — it pairs well with meal planning and recipes like this one when you’re looking at the bigger picture, not just tonight’s snack. Check it out here.
Ingredients
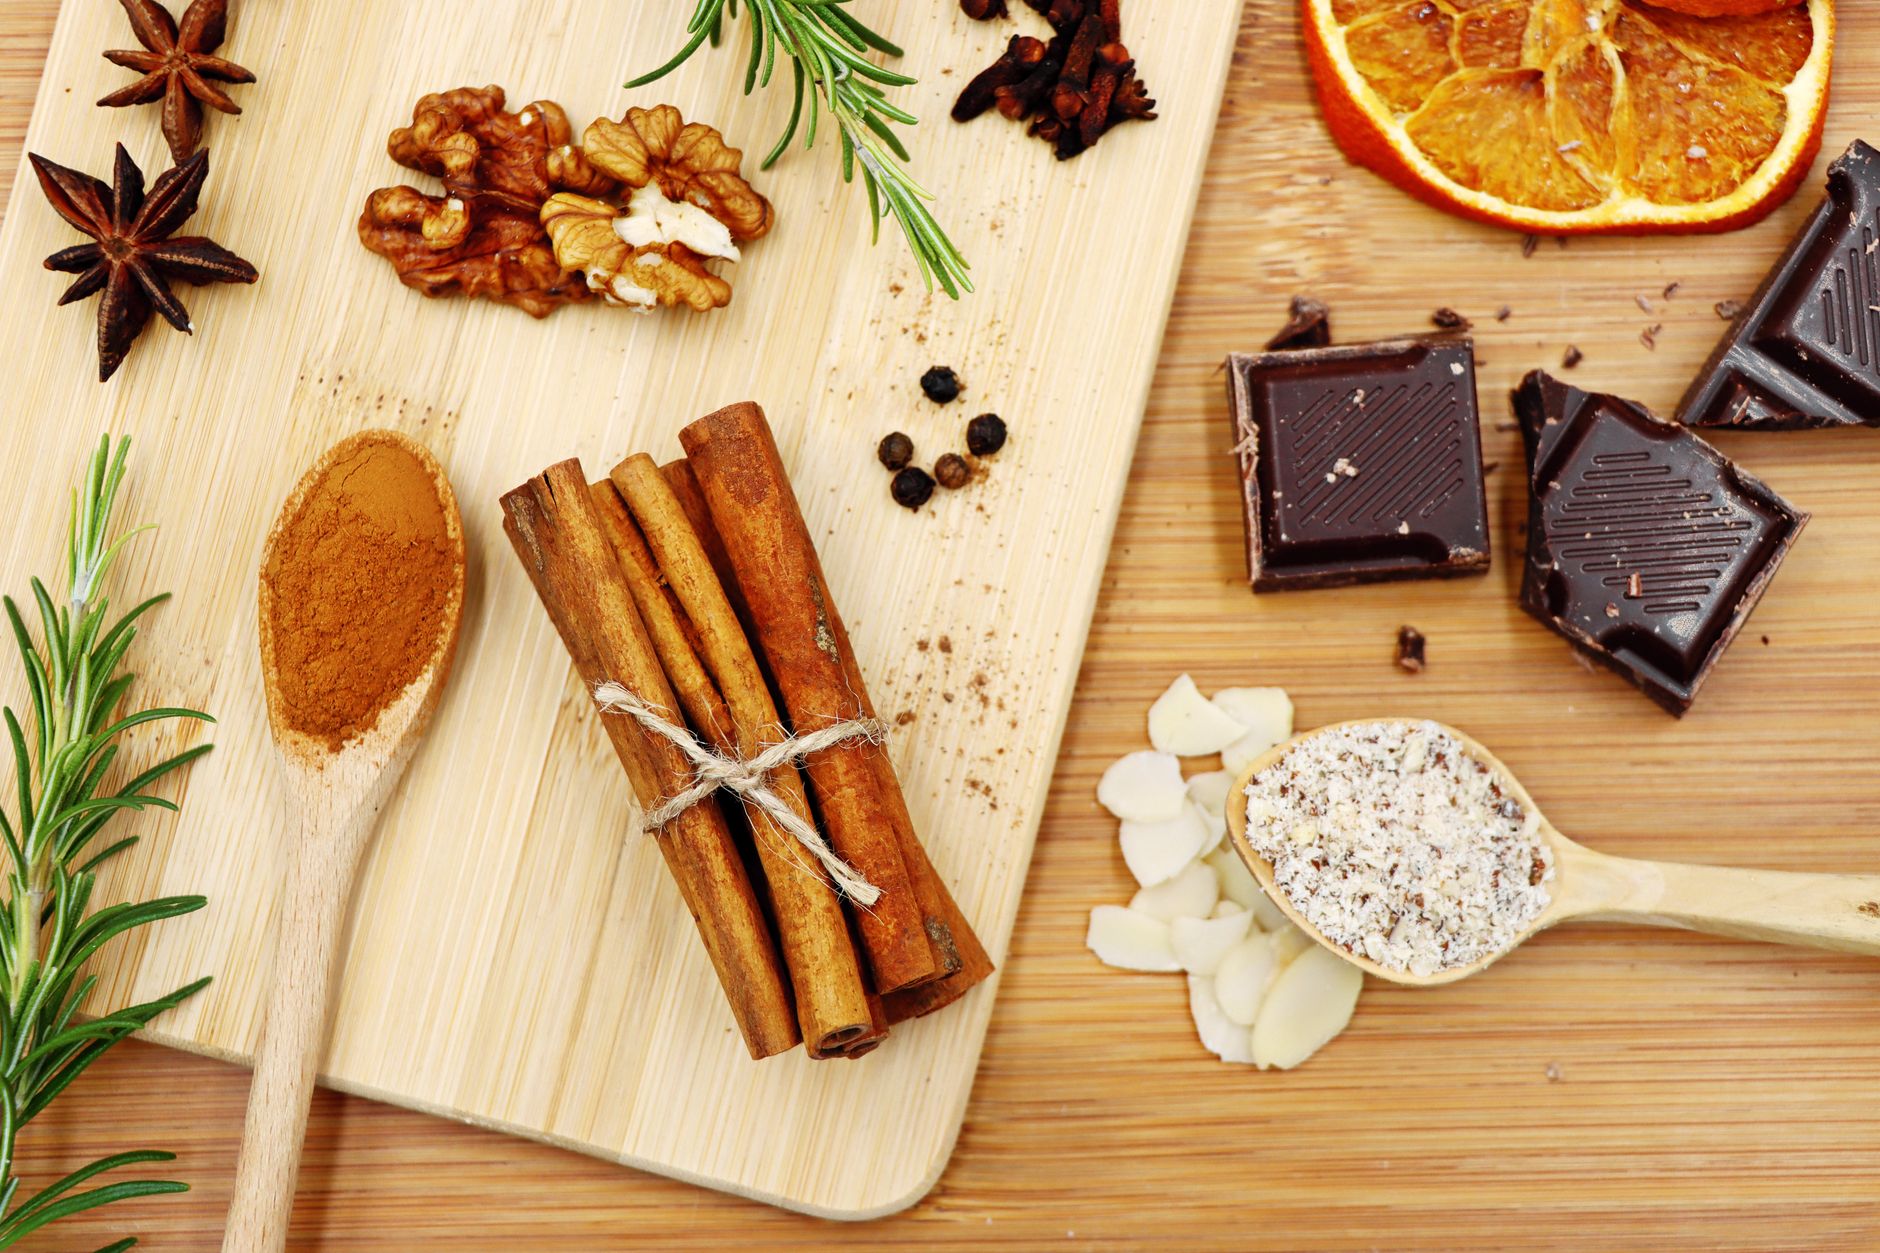
Here’s what’s going into your bark and why each piece matters.
Dark chocolate (sugar-free or 85%+ cacao, chopped or in chips) — 10 oz. This is the base and the star. Sugar-free dark chocolate bars (look for ones sweetened with erythritol or monk fruit) keep this fully keto. If you can’t find sugar-free, an 85% or higher cacao bar keeps sugar content low while still giving you that deep, slightly bitter chocolate flavor bark is supposed to have. Avoid milk chocolate here — it melts differently and won’t set up as crisp.
Coconut oil — 1 tablespoon. Just a small amount smooths out the melted chocolate and helps it set with a cleaner snap instead of a dull, waxy texture. Refined coconut oil won’t add a coconut flavor if that’s not your thing.
Unflavored or chocolate protein powder — 1/4 cup. This is what turns bark into a protein-packed snack instead of just a treat. Whey or a plant-based protein both work, but the finer the powder, the smoother your bark will be. Chunky or gritty protein powders can leave a slightly sandy texture, so if yours tends to be coarse, sift it first.
Vanilla extract — 1/2 teaspoon. Rounds out the bitterness of the dark chocolate and makes the whole thing taste a little more like dessert and a little less like a protein bar.
Sea salt — a pinch, plus more for topping. A little salt in the chocolate itself deepens the flavor, and a flaky finishing salt on top gives you that sweet-salty contrast that makes people go back for a second piece.
Mixed toppings (nuts, seeds, unsweetened coconut flakes) — about 1 cup total. This is where you make it yours. Almonds, pecans, pumpkin seeds, and unsweetened coconut are my go-to combination, but see the Variations section below for more ideas.
Ingredient substitutions: If you’re not doing keto but still want this lower in sugar, a good-quality 70% dark chocolate works fine — just know the carb count will go up slightly. Dairy-free? Stick with a dairy-free protein powder and check your chocolate’s label, since some dark chocolate is processed with milk.
Kitchen Equipment
- A baking sheet (a half-sheet pan works great)
- Parchment paper
- A heatproof bowl for melting chocolate
- A microwave or a small saucepan for a double boiler
- A silicone spatula
- A sharp knife or your hands, for breaking the bark once it’s set
That’s it. No mixer, no candy thermometer, nothing that needs to be dug out of the back of a cabinet.
Step-by-Step Instructions
Step 1: Line your pan. Line a baking sheet with parchment paper, letting a little extra hang over the edges. This makes lifting the finished bark out so much easier later. Skipping this step is how I once spent twenty minutes chiseling chocolate off a baking sheet — learned that one the hard way.
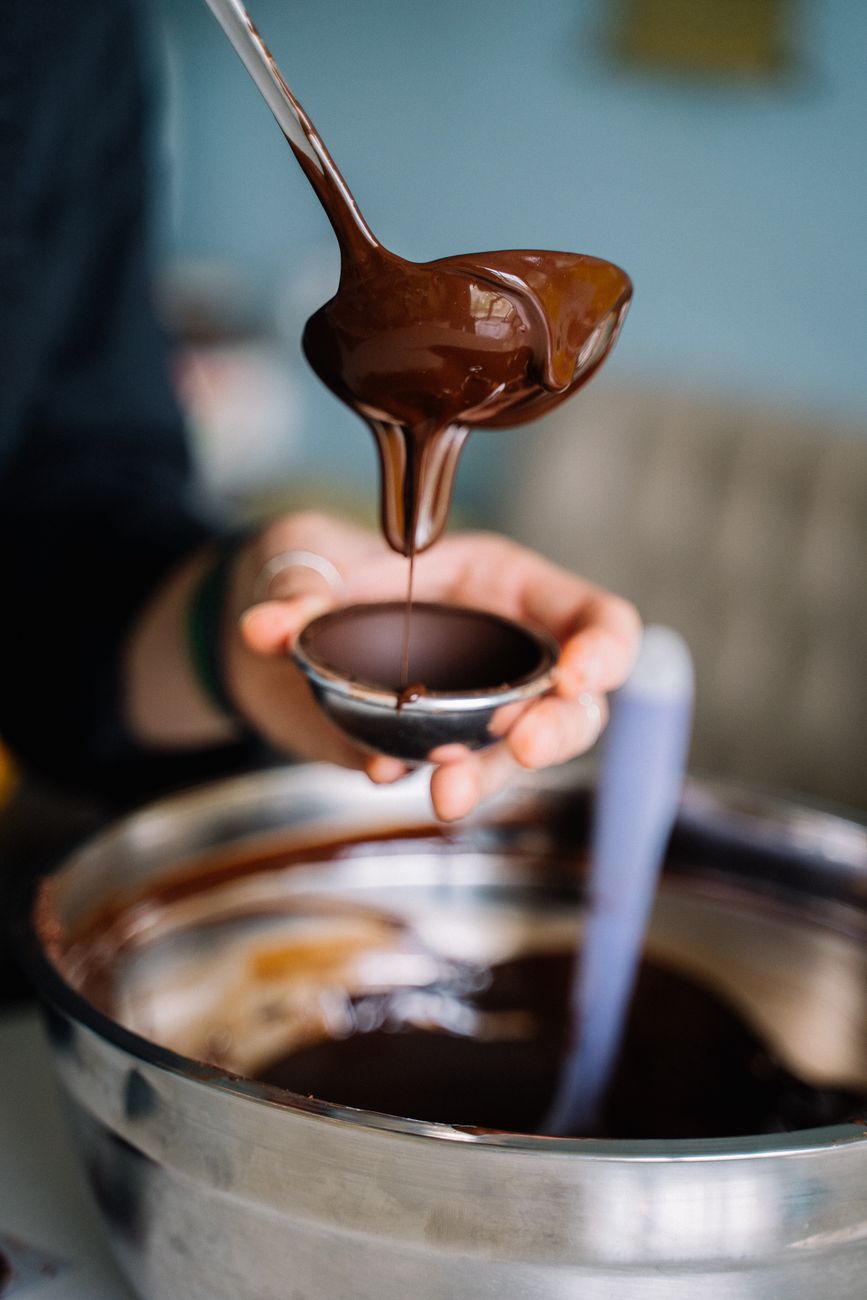
Step 2: Melt the chocolate slowly. Add your chopped chocolate and coconut oil to a heatproof bowl. Microwave in 20-second bursts, stirring in between, until it’s about 80% melted with a few small lumps remaining. Stir until those last lumps melt from residual heat. If you’d rather use a double boiler, keep the water at a gentle simmer, not a rolling boil.
The first time I made this bark, I rushed the melting process and blasted it in the microwave for a full minute at a time. I ended up with grainy, seized chocolate that never smoothed back out. Ever since then, I melt it low and slow, and the texture turns out silky every single time. If your chocolate seizes up and goes clumpy and dull, it’s usually from overheating or a stray drop of water getting into the bowl — start over rather than trying to fix it, because seized chocolate doesn’t come back.
Your chocolate is ready when it’s glossy, pourable, and completely smooth when you run the spatula through it.
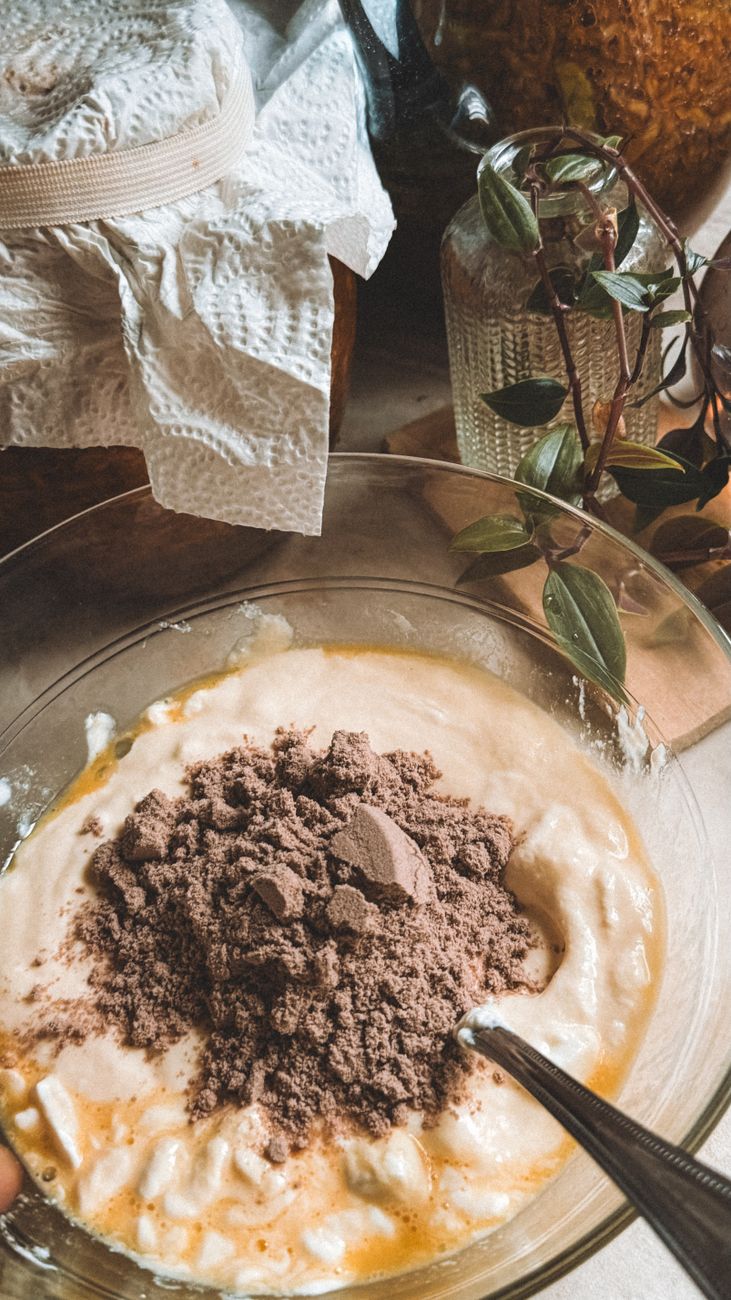
Step 3: Whisk in the protein powder. Once the chocolate is fully melted and smooth, add your protein powder, vanilla, and pinch of salt. Whisk until it’s completely incorporated with no dry streaks or clumps. It will thicken up slightly — that’s normal and expected.
One trick I never skip: I whisk this in a bit at a time rather than dumping the whole quarter cup in at once. Adding it gradually keeps the mixture smooth instead of clumping around pockets of dry powder.
Step 4: Spread it onto the pan. Pour the chocolate mixture onto your lined baking sheet. Using your spatula, spread it into an even layer, roughly 1/4-inch thick. Thinner spots will be crunchier and snap more easily; thicker spots will feel a little more like fudge. I like mine somewhere in between, but this is entirely a texture preference.
Step 5: Add your toppings. While the chocolate is still soft, scatter your nuts, seeds, and any other toppings evenly across the surface. Press down very gently with your fingers or the back of a spoon so everything sticks once it sets. If you wait too long and the chocolate starts to firm up, your toppings will just roll right off — I’ve chased pecans across the counter more than once because I got distracted mid-recipe.
Step 6: Chill until firm. Transfer the pan to the freezer for 20 to 30 minutes, or the refrigerator for about an hour, until completely firm. Don’t rush this part. Bark that hasn’t fully set will crack unevenly and stick to your hands instead of breaking cleanly.
Step 7: Break it into pieces. Once firm, lift the bark out using the parchment overhang and break it into pieces with your hands, or use a sharp knife for cleaner, more uniform pieces. Rustic, jagged pieces are honestly part of the charm here.
Expert Tips
- Chop your chocolate evenly before melting so every piece melts at roughly the same rate.
- Keep any water source far away from your melting bowl — even a drop can cause the chocolate to seize.
- Sift clumpy protein powder before adding it for a smoother finished texture.
- Spread the chocolate a little thinner if you prefer a crisp snap over a fudgier bite.
- Press toppings in while the chocolate is still soft, not after it starts to set.
- Use a sharp knife instead of your hands if you want clean, gift-box-worthy pieces.
- Store pieces with parchment between layers so they don’t stick together in the freezer.
- Let the bark sit at room temperature for a couple of minutes before eating straight from the freezer — it makes a noticeable difference in texture.
- Taste your protein powder on its own before adding it. If you don’t love the flavor by the spoonful, you won’t love it in the bark either.
- Make a double batch. This stuff disappears faster than you’d expect, and it’s just as easy to make a full sheet pan as a half one.
- If your chocolate looks dull instead of glossy after setting, it usually means it was tempered a little too fast — it’ll still taste great, it just won’t have that shiny, snappy shell.
Variations
- Peanut butter swirl: Drizzle warmed natural peanut butter over the spread chocolate before adding toppings, then swirl with a toothpick.
- Almond butter: Same idea as the peanut butter swirl, with a slightly milder, nuttier flavor.
- Coconut flakes: Unsweetened, toasted coconut flakes add texture and a subtle sweetness.
- Sea salt: A generous sprinkle of flaky sea salt right before the bark sets is one of my favorite simple upgrades.
- Espresso powder: A small pinch whisked into the melted chocolate deepens the flavor and adds a little mocha edge.
- Freeze-dried berries: Freeze-dried raspberries or strawberries add color and a tart contrast to the bitter chocolate.
- Pumpkin seeds: Toasted pepitas add crunch and a nice earthy flavor.
- Pecans: Buttery and slightly sweet, one of my go-to toppings.
- Walnuts: A little more bitter, which actually plays really nicely with dark chocolate.
- Macadamia nuts: Rich and creamy, and very keto-friendly.
- Different protein powder flavors: Try a chocolate peanut butter or salted caramel protein powder for a completely different flavor profile without changing the method at all.
Storage
Refrigerator: Store bark pieces in an airtight container with parchment between layers for up to 2 weeks.
Freezer: This bark freezes beautifully. Store in an airtight, freezer-safe container for up to 3 months. I almost always keep a batch in my freezer for exactly this reason — it’s the easiest “healthy dessert emergency” solution I know.
Shelf life: Because there’s no added sugar acting as a preservative, this bark is happiest kept cold rather than left out at room temperature for extended periods, especially in a warm kitchen.
Best containers: A shallow airtight container or a freezer-safe zip-top bag both work well. Avoid stacking pieces too high without parchment between layers, or they’ll fuse together into one giant piece.
Common Mistakes
Overheating the chocolate. This is the number one issue beginners run into. High heat or long microwave bursts cause chocolate to seize into a grainy, unusable mess. Melt low and slow, stirring often.
Water getting into the bowl. Even a tiny bit of moisture can seize your chocolate. Make sure your bowl, spatula, and any toppings are completely dry before they touch the melted chocolate.
Spreading it too thick. A thick layer takes longer to set and breaks less cleanly. Aim for about 1/4 inch for the best texture.
Adding toppings too late. If the chocolate has already started to firm up, toppings won’t stick and will just fall off once the bark is broken apart.
Not letting it set fully. Rushing the chilling step leads to bark that cracks unevenly or sticks to your hands instead of snapping cleanly.
Using a gritty protein powder without sifting. This is a small step that makes a big texture difference in the final product.
Serving Ideas
This bark works in more places than you’d think:
- Alongside your morning coffee or tea
- As a quick breakfast add-on when you need something with a little extra protein
- As a post-workout snack
- Packed into lunch boxes for an afternoon pick-me-up
- Portioned out for weekly meal prep
- Wrapped up in cellophane bags as holiday gift boxes
- As the “movie night treat” that doesn’t derail your whole week

Reader Tips
If your bark comes straight from the freezer, let it sit for two or three minutes before eating. The texture becomes much creamier, and you’ll actually taste the chocolate instead of just crunching through something ice-cold.
Several readers have also mentioned breaking their bark into smaller, uniform pieces and portioning them into snack bags right away — it turns this recipe into a genuinely grab-and-go option instead of something you have to think about each time.
Nutrition (Approximate, Per Piece — Makes About 16 Pieces)
| Nutrient | Amount |
|---|---|
| Calories | 110 |
| Total Fat | 9g |
| Saturated Fat | 4g |
| Total Carbs | 6g |
| Fiber | 2g |
| Net Carbs | 4g |
| Protein | 5g |
| Sugar | 0-1g |
Nutrition will vary depending on your specific brands of chocolate and protein powder, and which toppings you choose.
Transform Your Body with AI-Powered Keto
Before we get into the FAQs, I want to mention one more resource for anyone who wants extra support beyond individual recipes. AI-Powered Keto helps you build personalized keto meal plans tailored to your goals, which can make staying consistent so much easier than piecing together a plan on your own. Learn more here.
Frequently Asked Questions
Can I use milk chocolate instead of dark chocolate? You can, but it will change the carb count significantly and the bark won’t set as crisp, since milk chocolate has a different fat content than dark chocolate.
What’s the best sugar-free chocolate brand for this recipe? Look for a sugar-free dark chocolate baking bar sweetened with erythritol or monk fruit blends. Chip form works too, but bars tend to melt a little more smoothly.
Can I make this without protein powder? Yes, you can leave it out entirely for a simple dark chocolate bark, though obviously it won’t have the same protein content.
Why did my chocolate turn grainy? This almost always comes down to overheating or a small amount of water getting into the bowl. Melt slowly and keep everything completely dry.
Can I use white chocolate instead? White chocolate contains more sugar and less cacao, so it’s not a great fit if you’re trying to keep this low-carb or sugar-free.
How long does the bark need to set? About 20 to 30 minutes in the freezer, or roughly an hour in the refrigerator, until it’s completely firm to the touch.
Is this recipe dairy-free? It can be, as long as you choose a dairy-free chocolate and protein powder. Some dark chocolate is processed with milk, so check the label.
Can I double the recipe? Absolutely. Just use a larger baking sheet, or split the mixture between two pans.
What protein powder works best? A finely milled whey or plant-based protein blends most smoothly. Chocolate or vanilla flavors both work well and complement the dark chocolate nicely.
Can I add liquid sweeteners like maple syrup? I wouldn’t recommend it. Liquid sweeteners can cause melted chocolate to seize, and they’ll also add sugar and carbs you’re likely trying to avoid.
How do I keep the bark from sticking to my hands when I break it apart? Make sure it’s fully set before handling, and break it directly on the parchment paper rather than lifting individual pieces out first.
Can I use this recipe for gifts? Yes, this is one of my favorite low-effort homemade gifts. Break it into pieces, layer it in a cellophane bag or small tin, and it looks far more impressive than the effort it actually took.
Is this recipe kid-friendly? The base recipe is, though you may want to skip the espresso powder variation and stick with milder toppings like coconut flakes or a peanut butter swirl.
Why is my bark too thick or too thin? Thickness comes down entirely to how evenly you spread it. Use a spatula and take your time — an uneven pour is the most common cause of inconsistent thickness.
Can I store this at room temperature? Not for long. Because there’s no added sugar acting as a stabilizer, it holds its texture best when kept in the refrigerator or freezer, especially in a warm kitchen.
30-Day Keto Meal Plan Blueprint
If this recipe has you wanting to build more structure into your keto routine, the 30-Day Keto Meal Plan Blueprint is worth a look. It’s ideal for anyone who wants a complete month of easy keto meals mapped out, along with shopping lists and meal planning support, so you’re not reinventing the wheel every single week. Get the Blueprint here.
Final Thoughts
I’ve made this recipe dozens of times at this point, and it’s become one of my weekly favorites precisely because it takes almost no effort for how satisfying it is. My family always asks for another batch the moment the container starts looking empty, which I’ve decided to take as the highest compliment a freezer snack can get.
If you make this bark, I’d genuinely love to hear how it turned out. Leave a comment below, give the recipe a rating, and if you’re a Pinterest person like me, go ahead and pin it for later — future you, mid-craving on a random Tuesday, will thank you. And if you’ve got a friend who’s always chasing that after-dinner chocolate fix, send this their way. It might just save their evening the way it’s saved mine more times than I can count.
You Might Also Like
- Keto Cookie Dough Pie
- No-Bake Oreo Cheesecake Bites
- High Protein Keto Breakfast for Weight Loss
- No-Cook Keto Breakfast Ideas for Busy Mornings
- Keto Meal Prep Mistakes to Avoid as a Beginner
Recipe Card
Guilt-Free Dark Chocolate Bark (High-Protein!)
Rich, snappy dark chocolate bark with a scoop of protein folded right in — sugar-free, keto-friendly, and ready in about 15 minutes of hands-on time.
Prep Time: 15 minutes Cook Time: 0 minutes (no bake) Chill Time: 30 minutes Total Time: 45 minutes Servings: 16 pieces
Ingredients:
- 10 oz sugar-free dark chocolate (or 85%+ cacao), chopped
- 1 tablespoon coconut oil
- 1/4 cup unflavored or chocolate protein powder
- 1/2 teaspoon vanilla extract
- Pinch of sea salt, plus more for topping
- 1 cup mixed toppings (nuts, seeds, unsweetened coconut flakes)
Instructions:
- Line a baking sheet with parchment paper.
- Melt chocolate and coconut oil together slowly, in 20-second microwave bursts, stirring between each, until smooth and glossy.
- Whisk in protein powder, vanilla, and salt until fully combined and smooth.
- Pour onto the lined baking sheet and spread into an even 1/4-inch layer.
- Scatter toppings over the surface and press gently to help them stick.
- Freeze for 20-30 minutes, or refrigerate for about an hour, until completely firm.
- Break into pieces and store in an airtight container.
Notes: For the cleanest break, use a sharp knife instead of your hands. Let bark sit at room temperature for 2-3 minutes after freezing for the best texture.
Nutrition (per piece): 110 calories, 9g fat, 6g total carbs, 2g fiber, 4g net carbs, 5g protein, 0-1g sugar.