
Grocery prices keep climbing, and it’s getting harder to eat healthy without watching your bank account shrink. If you’ve ever tossed a chicken carcass in the trash or scraped onion skins straight into the bin, you’ve thrown away the start of something valuable.
That “waste” is actually the base for one of the easiest, most budget-friendly keto staples you can make: homemade bone broth.
This easy keto bone broth recipe turns leftover bones and vegetable scraps into a rich, nourishing broth you can sip on its own, cook with, or freeze for later. It costs almost nothing to make, and it helps you get more out of every ingredient you already bought.
By the end of this post, you’ll know:
- The easiest keto bone broth recipe, with stovetop, slow cooker, and Instant Pot methods
- How to save money on groceries every single week
- Simple ways to reduce kitchen waste using scraps you already have
- How to store and use your broth so nothing goes bad
- The most common mistakes that ruin a batch of broth
Let’s get your first pot simmering.
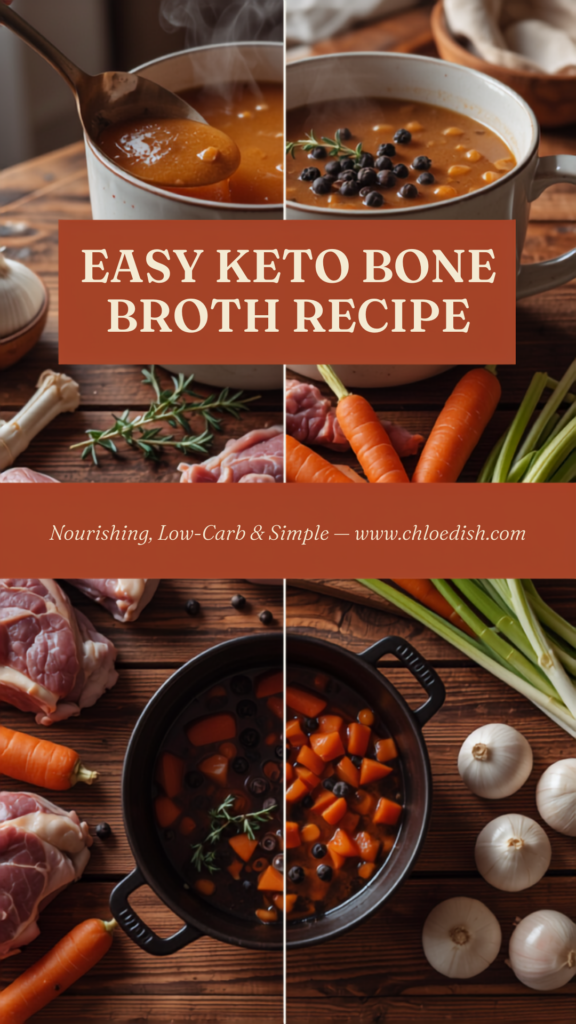
Why Bone Broth Is Perfect for Keto
Bone broth fits into a keto lifestyle in a way that’s hard to beat. Here’s why so many keto eaters keep a batch in the fridge or freezer at all times.
It’s naturally very low carb. A basic broth made from bones, water, and a splash of vinegar has close to zero net carbs per cup, which makes it easy to fit into almost any keto meal plan.
It’s rich in minerals. Simmering bones for hours pulls out minerals like calcium, magnesium, and phosphorus into the liquid.
It’s filling between meals. A warm mug of broth can take the edge off hunger without derailing your macros, which is helpful if you’re spacing out meals on keto.
It pairs well with fasting. Many people doing intermittent fasting or extended fasts sip plain bone broth because it has minimal calories and carbs but still feels satisfying.
It supports hydration. Broth is mostly water, plus electrolytes like sodium and potassium, which can help if you’re dealing with the “keto flu” in your first few weeks.
It’s easy to batch cook. One big pot can give you broth for an entire week or more, which fits perfectly into a keto meal prep routine.
💡 Quick Tip: Bone broth is nutritious, but it isn’t a cure-all. Think of it as a helpful, low-carb addition to a balanced keto diet rather than a magic health fix.

Why Homemade Bone Broth Saves Money
Here’s the part that surprises a lot of beginners: the ingredients for bone broth are things you’re probably already throwing away.
Think about what usually ends up in the trash after a normal week of cooking:
- Chicken carcasses after a roast chicken dinner
- Beef bones left over from steaks or roasts
- Pork bones from chops or ribs
- Onion skins and root ends
- Celery tops and leaves
- Carrot ends and peels
- Herb stems from parsley, thyme, or cilantro
Individually, none of these feel like much. Together, they’re the foundation of a broth that would cost real money at the store.
A Simple Cost Comparison
A quart of quality store-bought bone broth typically runs somewhere between $5 and $8. A homemade batch using scraps and bones you already have on hand can cost close to nothing beyond what you already spent on your original meal.
Even if you buy bones specifically for broth, a few pounds of beef or chicken bones usually costs a fraction of what you’d pay for the same amount of finished, bottled broth. Multiply that savings over weeks and months, and it adds up fast, especially if broth is something your household uses often.
That’s the real magic here: you’re not spending extra money to eat healthier. You’re just using ingredients more completely.
Ingredients
This basic recipe is flexible. Use what you have, and don’t stress about being exact.
For about 3-4 quarts of broth:
- 2-3 lbs bones (chicken carcass, beef bones, or pork bones) — this is the base of your broth and where most of the collagen, gelatin, and minerals come from
- 1 onion, quartered (skins on are fine) — adds flavor and a touch of natural sweetness
- 2 carrots, roughly chopped — adds subtle sweetness and body
- 2 celery stalks, roughly chopped — classic aromatic base
- 2 tablespoons apple cider vinegar — helps pull minerals out of the bones into the liquid
- 1 bay leaf — adds depth of flavor
- 1 teaspoon whole peppercorns — mild warmth and flavor
- 1 teaspoon salt (optional, add more to taste at the end) — season carefully since broth reduces
- Water, enough to cover everything (about 3-4 quarts)
Optional add-ins:
- Garlic cloves, smashed
- Fresh parsley or thyme stems
- Mushroom stems
- Ginger slices (especially nice with chicken broth)
- A splash of soy sauce or coconut aminos for umami
💡 Why the vinegar matters: Apple cider vinegar is a small ingredient with a big job. It helps draw calcium and other minerals out of the bones during the long simmer, which is part of what makes homemade broth so nutrient-dense.
Equipment Needed
You don’t need anything fancy. Pick whichever method fits your kitchen and schedule.
- A large stockpot (for stovetop method)
- A slow cooker (6-quart or larger)
- An Instant Pot or other electric pressure cooker
- A fine mesh strainer or cheesecloth
- Large bowl or heatproof container for straining
- Storage containers: mason jars, freezer-safe bags, or ice cube trays
Step-by-Step Instructions
Stovetop Method (Most Traditional)
- Roast the bones first (optional but recommended). Spread bones on a baking sheet and roast at 400°F for 30-40 minutes until browned. This step deepens the flavor significantly.
- Add everything to the pot. Place bones, onion, carrots, celery, vinegar, bay leaf, and peppercorns into your stockpot.
- Cover with water. Add enough water to cover the ingredients by about 1-2 inches.
- Bring to a boil, then reduce to a bare simmer. You want small, gentle bubbles, not a rolling boil.
- Skim the foam. In the first hour, foam and impurities will rise to the top. Skim this off with a spoon for a cleaner-tasting broth.
- Simmer low and slow. Chicken broth: 4-6 hours. Beef or pork broth: 8-24 hours. The longer it simmers, the more collagen and minerals are extracted.
- Strain the broth. Pour through a fine mesh strainer into a large bowl, discarding the solids.
- Cool, then store. Let the broth cool slightly before transferring to storage containers.
Slow Cooker Method
- Add roasted (or raw) bones, vegetables, vinegar, and seasonings to the slow cooker.
- Cover with water, leaving an inch of space at the top.
- Cook on low for 12-24 hours.
- Strain and store as directed above.
Instant Pot Method (Fastest Option)
- Add bones, vegetables, vinegar, and seasonings to the Instant Pot.
- Cover with water, staying below the max fill line.
- Seal the lid and cook on high pressure for 2 hours (chicken) or 3 hours (beef/pork).
- Allow natural pressure release for at least 20-30 minutes.
- Strain and store as directed above.
💡 Visual Cue: Good bone broth often turns semi-solid, like jiggly gelatin, once fully chilled. That’s a great sign — it means you extracted plenty of collagen. It will turn liquid again once reheated.
Pro Tips for Rich Flavor
- Roast your bones first. This single step makes the biggest difference in flavor depth.
- Don’t skip the apple cider vinegar. It’s a small amount but does real work pulling out nutrients.
- Simmer low, not hard. A hard boil can make the broth cloudy and slightly bitter.
- Be patient. Longer simmer times generally mean richer flavor and more nutrients.
- Skim the foam early on. This keeps your final broth clearer and cleaner-tasting.
- Season at the end, not the beginning. Broth reduces as it cooks, so salt added early can become too concentrated.
Common Mistakes to Avoid
- Adding too much salt too early. Wait until the broth has finished cooking and reduced before adjusting seasoning.
- Not simmering long enough. A quick 1-hour simmer won’t extract much collagen or flavor.
- Throwing away the marrow. Bone marrow is nutrient-rich and delicious spread on low-carb toast or stirred back into the broth.
- Using too much water. Too much water dilutes flavor and nutrients. Keep water just above the level of the solids.
- Forgetting the vinegar. It’s easy to skip, but it plays a real role in nutrient extraction.
Storage Guide
Proper storage means your broth stays fresh, safe, and ready whenever you need it.
Refrigerator: Store in an airtight container for up to 4-5 days. A layer of fat may form on top; this is normal and helps preserve the broth.
Freezer: Store in freezer-safe containers or bags for up to 6 months. Leave room at the top of containers for expansion.
Ice cube trays: Freeze broth in ice cube trays for small, pre-portioned amounts perfect for sauces, sautéing, or quick flavor boosts. Once frozen, transfer cubes to a freezer bag.
Glass jars: Use wide-mouth mason jars for freezing, but always leave 1-2 inches of headspace so the jar doesn’t crack as the liquid expands.
Meal prep tip: Portion broth into 1-cup or 2-cup containers so you can grab exactly what you need for a recipe without thawing an entire batch.
Creative Ways to Use Bone Broth
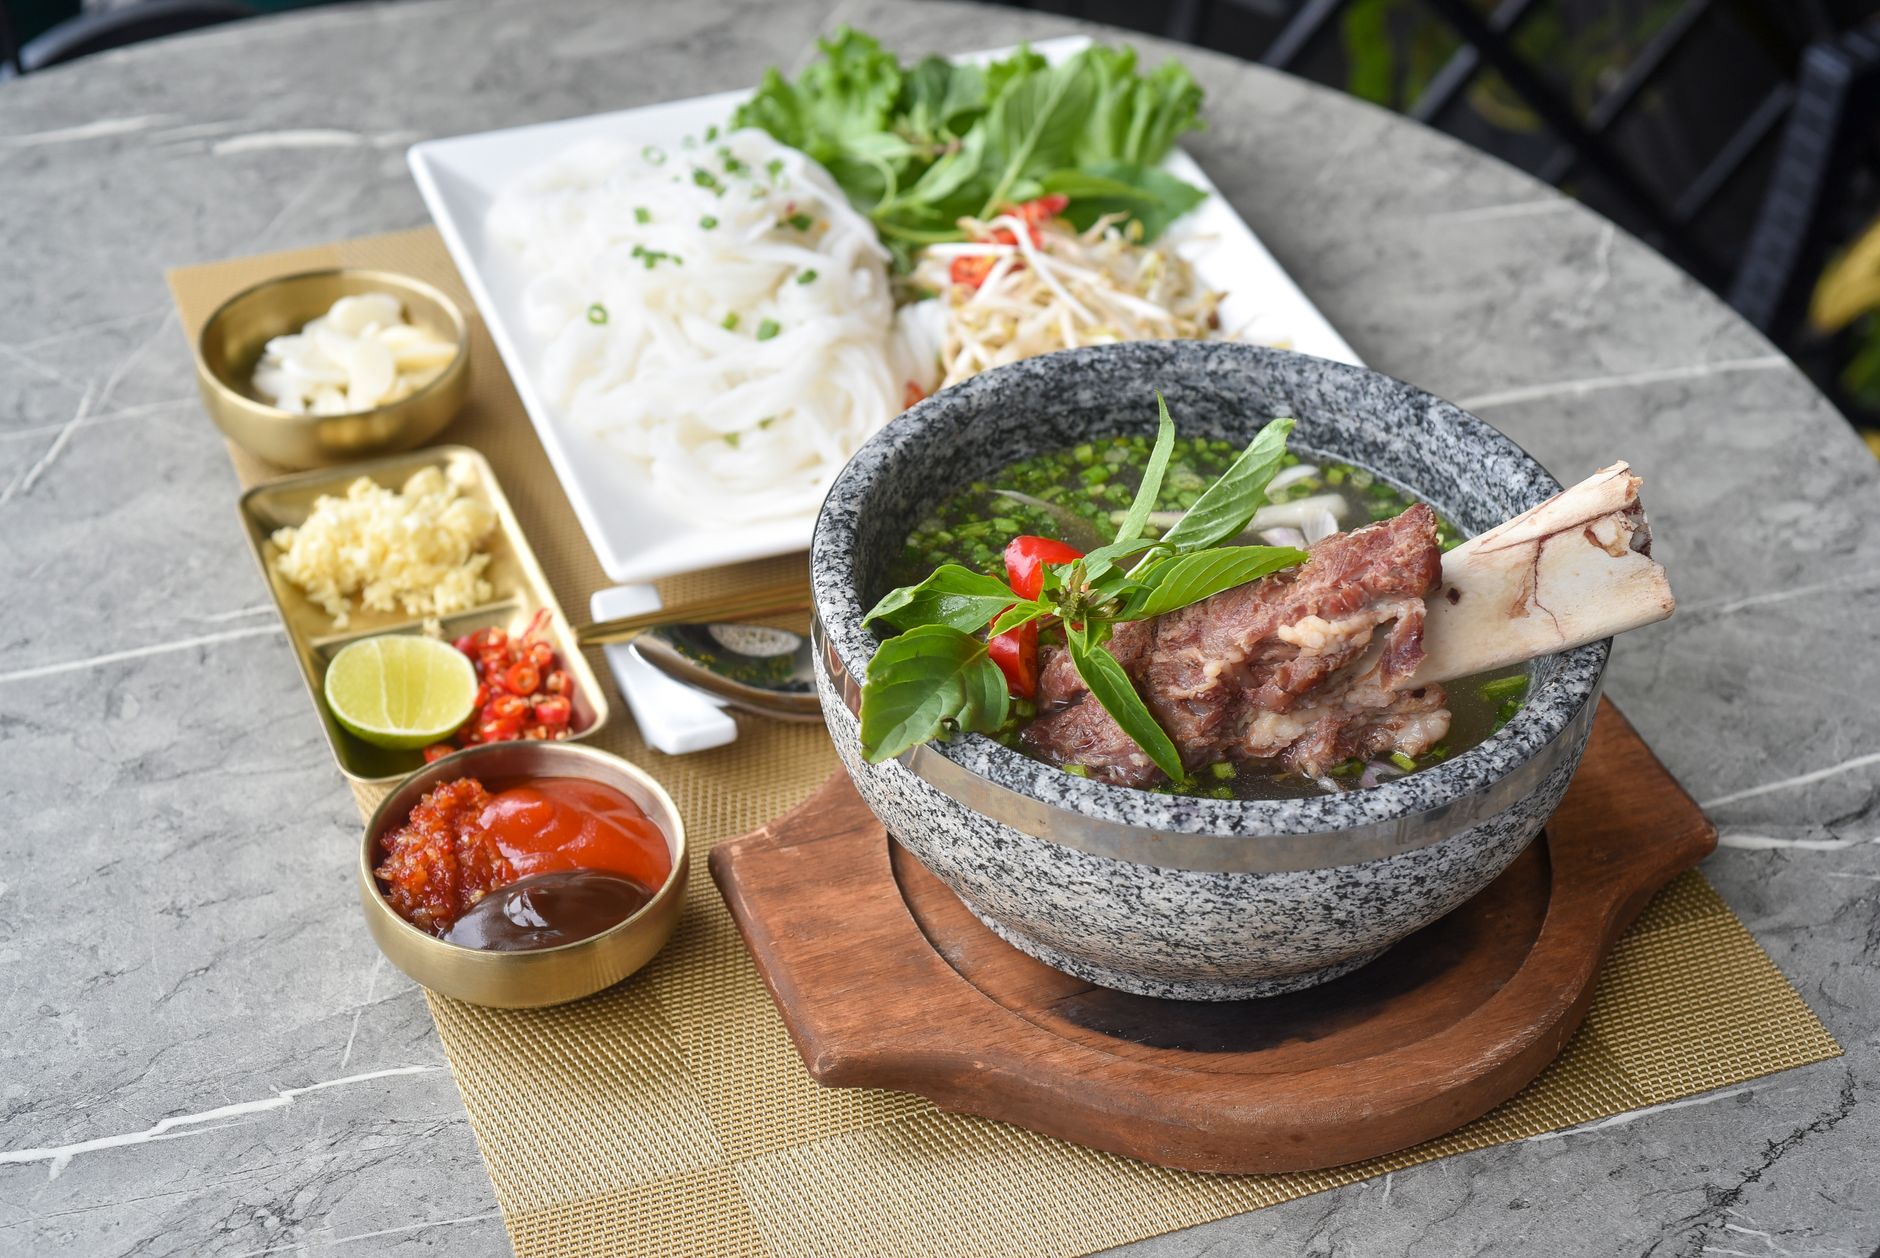
Once you have a batch ready, here are simple ways to put it to work:
- Sip it warm, plain or with a pinch of salt, as a cozy low-carb snack
- Use it as the base for keto soups and stews
- Turn it into a rich, low-carb gravy
- Build pan sauces after searing meat
- Cook cauliflower rice in broth instead of water for extra flavor
- Braise meats low and slow for tender, flavorful results
- Make a quick keto egg drop soup
- Use it as the liquid base in slow cooker recipes
- Deglaze a pan after cooking vegetables or meat
Reduce Kitchen Waste Like a Pro
Bone broth is really just the beginning of a bigger habit: using more of what you already buy.
Here are simple habits to start today:
- Keep a freezer bag for vegetable scraps. Onion ends, carrot peels, celery tops, and herb stems all go straight into one bag until you’re ready to make broth.
- Freeze chicken carcasses after dinner. Instead of tossing bones right after a roast chicken meal, freeze them until you have time to simmer a batch.
- Save herb stems. Parsley, cilantro, and thyme stems have plenty of flavor and don’t need to go to waste.
- Store mushroom stems separately. They add a nice umami depth to broth and other dishes.
- Organize your fridge leftovers. A little organization goes a long way toward using food before it spoils.
Once you start saving scraps instead of tossing them, you’ll notice how much less actually ends up in the trash — and how much further your grocery budget stretches.
If you want a deeper, more complete system for cutting food waste across your entire kitchen (not just broth), the No-Waste Kitchen Guide is a genuinely helpful resource. It’s built around the same idea as this recipe: using what you already have, more completely, so you spend less and waste less.
Quick Recipe Card
Easy Keto Bone Broth Prep time: 15 minutes | Cook time: 4-24 hours (method dependent) | Yield: 3-4 quarts
Ingredients: 2-3 lbs bones · 1 onion, quartered · 2 carrots, chopped · 2 celery stalks, chopped · 2 tbsp apple cider vinegar · 1 bay leaf · 1 tsp peppercorns · salt to taste · water to cover
Instructions:
- Roast bones (optional).
- Combine everything in your pot, slow cooker, or Instant Pot.
- Cover with water.
- Simmer: 4-6 hrs (chicken, stovetop/slow cooker) or 8-24 hrs (beef/pork), OR 2-3 hrs on high pressure (Instant Pot).
- Strain, cool, and store.
Key Takeaways
- Bone broth is naturally low carb and fits easily into a keto lifestyle.
- Homemade broth uses scraps you’d normally throw away, saving real money.
- Roasting bones and adding apple cider vinegar are the two biggest flavor and nutrient boosters.
- Broth keeps in the fridge for about a week and in the freezer for up to 6 months.
- Reducing kitchen waste doesn’t stop at broth — small daily habits add up. The No-Waste Kitchen Guide can help you take it further.
Frequently Asked Questions (Readers Also Ask)
Can bone broth break ketosis? Plain bone broth is very low in carbs and typically won’t break ketosis. Just watch out for store-bought versions with added sugars or starches.
How long should bone broth simmer? Chicken broth generally needs 4-6 hours, while beef or pork broth benefits from 8-24 hours for maximum flavor and collagen extraction.
Can I freeze bone broth? Yes. Bone broth freezes well for up to 6 months in freezer-safe containers, bags, or ice cube trays.
Which bones are best for broth? A mix of meaty bones and joint bones (like knuckles or feet) works well, since joints are especially rich in collagen.
Do I need to add vinegar? It’s not strictly required, but it helps pull more minerals out of the bones, so it’s worth including if you have it on hand.
Can I reuse the same bones for a second batch? Yes, though the second batch will usually be lighter in flavor and nutrients than the first.
Can I make bone broth in a slow cooker? Absolutely. Cook on low for 12-24 hours for a rich, hands-off batch.
Can I use frozen bones instead of fresh? Yes, frozen bones work fine. You don’t need to thaw them first; just add extra cooking time if needed.
How long does homemade bone broth last? About 4-5 days in the refrigerator, or up to 6 months in the freezer.
Is homemade broth better than store-bought? Homemade broth tends to be more flavorful, more customizable, and significantly cheaper, since it’s often made almost entirely from ingredients you already had.
Conclusion
Homemade keto bone broth checks nearly every box: it’s healthy, budget-friendly, delicious, and genuinely easy to make once you know the basics. Best of all, it turns things you’d normally throw away into something nourishing and useful.
Start saving your bones and vegetable scraps this week instead of tossing them. That one small habit is the first step toward a kitchen that wastes less and stretches your grocery budget further.
And if you’re ready to take that no-waste mindset beyond broth, the No-Waste Kitchen Guide walks you through practical, everyday ways to get more out of every ingredient in your kitchen. Thousands of home cooks are already using it to eat better and spend less — it might be exactly the next step you’re looking for.
