
There’s a particular kind of heartbreak that only a home baker knows. You mix the dough. You shape the cookies with care. You wait, nose pressed almost against the oven door, for that warm chocolate smell to fill the kitchen. And then you pull out a tray of… hockey pucks. Dry, crumbly, sad little discs that fall apart before they even reach your mouth.
I’ve been there more times than I want to admit.
When I first started eating low carb, I missed chocolate chip cookies more than almost anything else. Not the “fine, I’ll have a rice cake” kind of missing — the real, aching, “I would trade a week of good sleep for one soft cookie” kind of missing. So I started experimenting. And experimenting. And yes, occasionally crying a little over a tray of cookies that spread into one giant, greasy pancake.
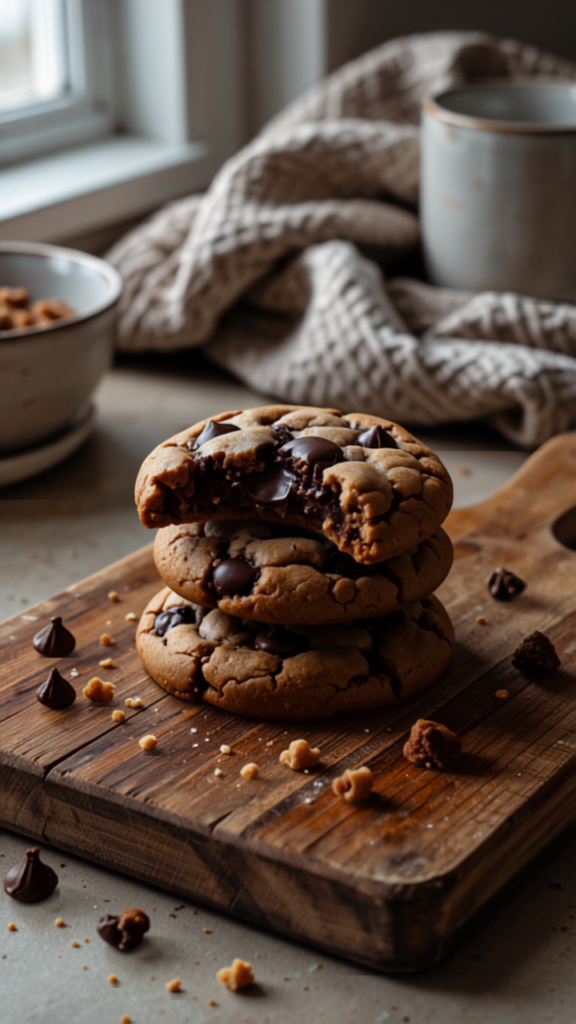
But after dozens of batches (my family stopped complaining somewhere around batch twelve, mostly because we all just kept eating the “failures” anyway), I finally landed on a recipe that gives you everything a good chocolate chip cookie should have: soft centers, slightly crisp edges, that satisfying chew, and rich chocolate in every bite. All keto. All gluten free. All ready in about 20 minutes, start to finish.
This is that recipe. And today, I’m going to walk you through every step, every mistake I made so you don’t have to, and every little trick that turns “okay, this is fine for keto” into “wait, these are actually just really good cookies.”
My Personal Experience Making These Cookies
I make this recipe more often than I probably should admit. It’s become my “something’s wrong, I need to fix it with baking” recipe. Bad day at work? Cookies. Friend coming over who doesn’t even do keto? Cookies (and they never guess). Kids’ bake sale where I still want to eat something? You guessed it.
What I love most is how forgiving this recipe became once I understood why keto cookies go wrong in the first place. Once you know the “why,” the “how” gets so much easier. That’s really the heart of this whole post — I’m not just handing you a recipe, I’m handing you the reasons behind every step, so you can troubleshoot your own kitchen, your own oven, your own almond flour brand.
Why You’ll Love This Recipe
Here’s what makes this version different from the dry, sad keto cookies you may have tried before:
- Genuinely soft and chewy, not just “soft for keto”
- Only one bowl and about 10 minutes of hands-on time
- Made with simple, easy-to-find ingredients
- Naturally low carb, gluten free, and sugar free
- Freezer-friendly, so you can bake a few now and save the rest for later
- Beginner-proof, with clear steps and troubleshooting built right in
If you’re the kind of person who wants to actually get good at keto baking (not just follow one recipe and hope for the best), this is a great starting point. And honestly, if you fall in love with keto baking the way I did, I highly recommend checking out The Ultimate Keto Baking Bundle. It’s packed with foolproof recipes and baking breakdowns that helped me understand keto flours and sweeteners on a much deeper level — the kind of resource I wish I’d had back when I was crying over hockey-puck cookies.
Why Keto Cookies Often Turn Out Dry or Crumbly
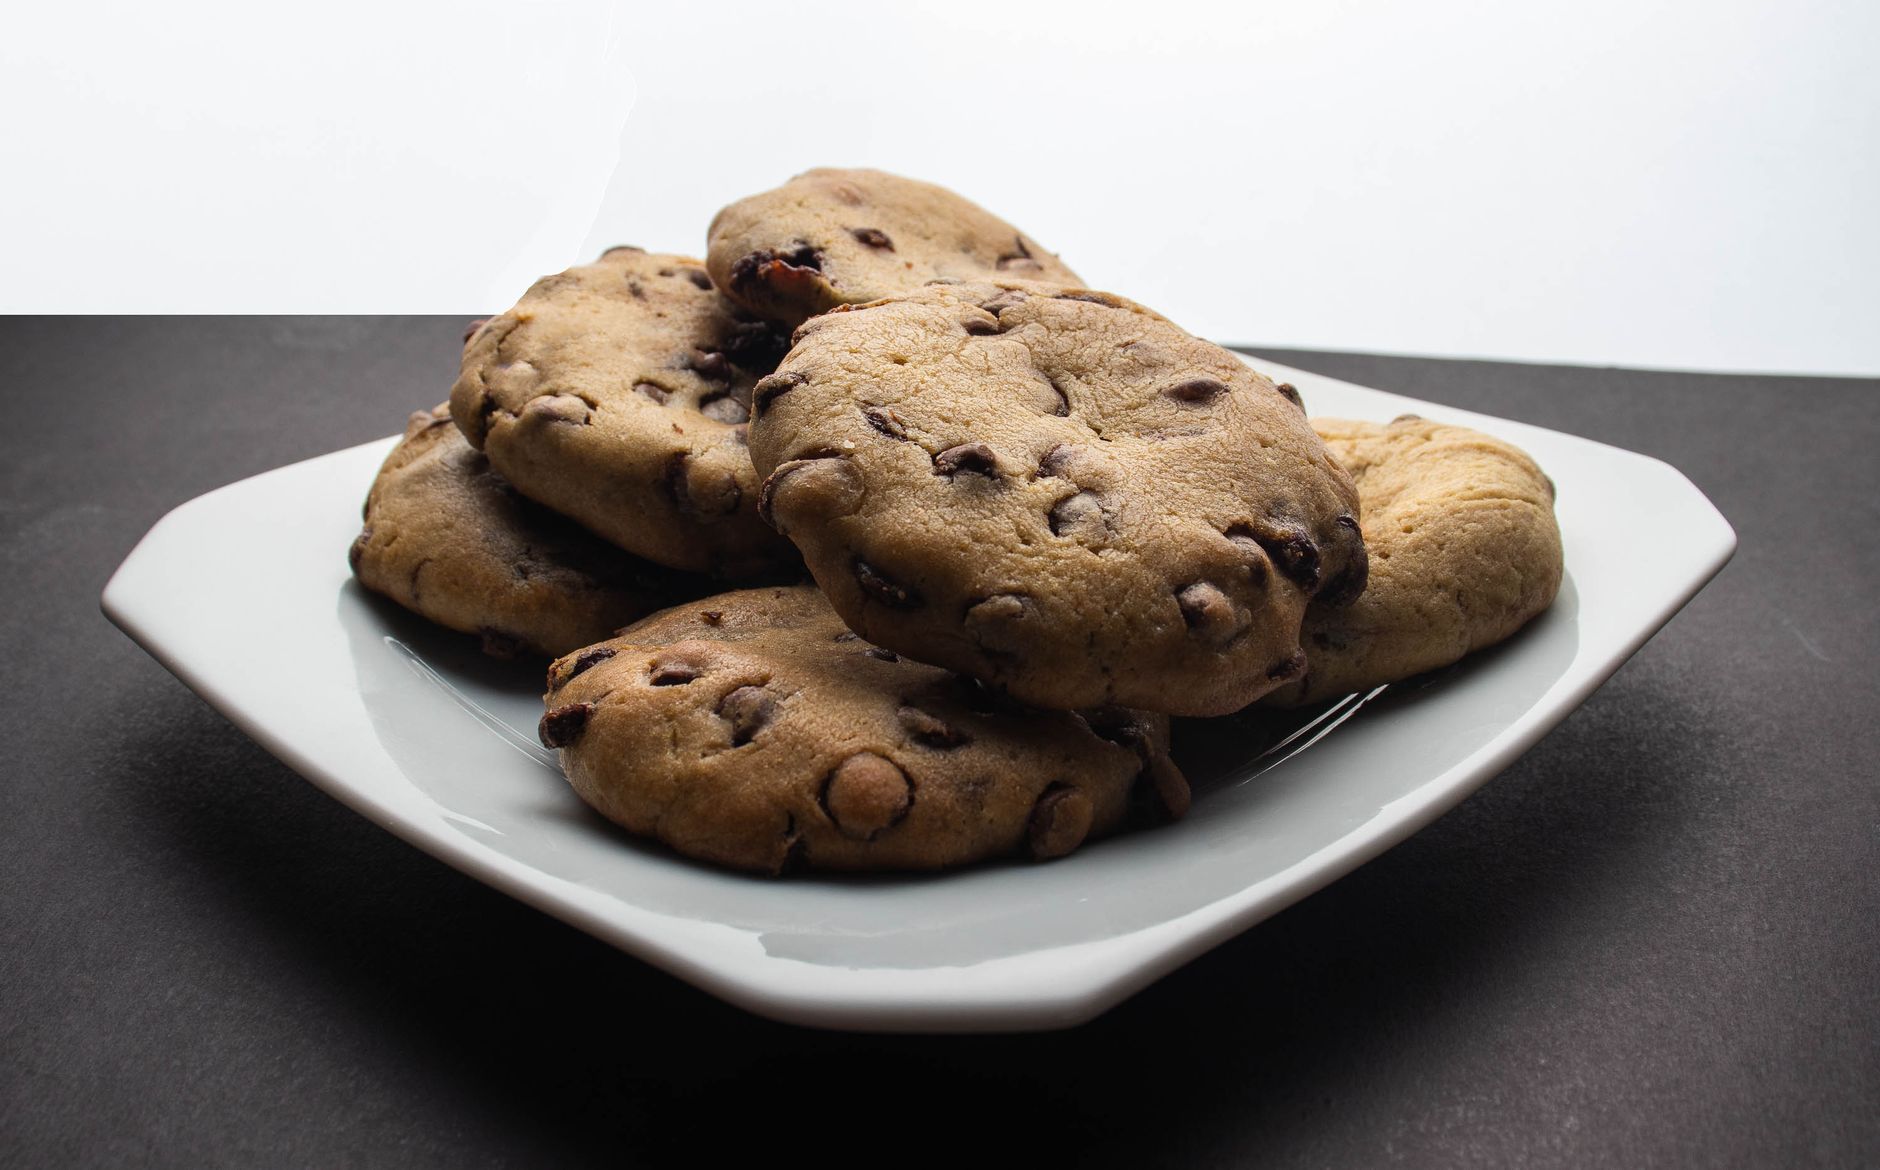
Let’s talk about the elephant in the kitchen. Keto cookies have a reputation for being dry, and honestly? It’s earned. But it’s not because keto baking is impossible — it’s because almond and coconut flour behave completely differently from wheat flour.
Here’s the science, explained simply:
- Almond flour has no gluten, which is the stretchy protein that gives regular cookies their chew. Without a plan to replace that texture, cookies fall apart.
- Almond flour also absorbs fat differently. Too much flour, and you get sand. Too little fat, and you get crumbles.
- Sugar substitutes don’t caramelize or hold moisture the same way real sugar does. Regular sugar pulls in moisture from the air, which is part of why cookies stay soft for days. Most keto sweeteners don’t do this on their own.
- Overbaking is the silent killer. Because keto cookies don’t brown the same way, it’s easy to leave them in too long “just to be safe.” That’s the #1 reason people end up with dry, crumbly cookies.
Once you understand these four points, dry cookies become very avoidable. The recipe below is built specifically to work around every one of them.
How to Make Cookies Soft and Chewy Every Time
This is the part everyone really wants to know. Here’s my formula for guaranteed soft, chewy keto cookies:
- Use melted butter, not softened. Melted butter creates a denser, chewier texture. Softened butter whips more air into the dough, which leads to a lighter, more cake-like (and more crumbly) cookie.
- Don’t skip the egg yolk. The extra fat and richness from a yolk (in addition to a whole egg) adds moisture and helps bind the dough without gluten.
- Slightly underbake, then let them finish on the tray. Cookies continue cooking from residual heat after you pull them out. Pulling them out when the centers still look a little underdone is the secret to that soft middle.
- Chill the dough for 10 minutes before baking. This prevents spreading and helps the fat firm up just enough to hold its shape in the oven.
- Add a touch of moisture insurance. A tablespoon of sour cream or cream cheese in the dough works wonders for keeping cookies soft for days, not just the first hour.
Which Keto Sweeteners Work Best?
Not all keto sweeteners behave the same in cookies, and this matters more than most recipes admit.
| Sweetener | Texture Result | Sweetness Level | Cooling Effect | Best For |
|---|---|---|---|---|
| Erythritol (granular) | Can crystallize if overbaked; slightly crunchy edges | Moderate | Noticeable cooling aftertaste | Crispier cookies |
| Monk Fruit Blend | Smooth, dissolves well | High | Minimal | Soft, chewy cookies (my favorite) |
| Allulose | Best browning and softness; behaves closest to sugar | Moderate | None | Bakery-style texture |
| Stevia Blend | Can taste bitter if too much is used | Very high (use sparingly) | Mild | Backup option, not my first choice |
Erythritol vs Monk Fruit Sweetener
This is one of the most common questions I get, so let’s break it down simply.
Erythritol is affordable and widely available, but on its own, it can leave a slightly cool, minty aftertaste and sometimes crystallizes as cookies cool, which affects texture.
Monk fruit sweetener (especially blended with erythritol or allulose) tends to taste cleaner and dissolves more smoothly into the dough, which gives you a softer bite with less of that “diet dessert” aftertaste.
My honest take: a monk fruit and allulose blend gives you the closest thing to a real sugar cookie texture. If you only have plain erythritol, this recipe still works — just know your cookies may firm up a bit more as they cool.
Ingredient Breakdown (With Explanations)
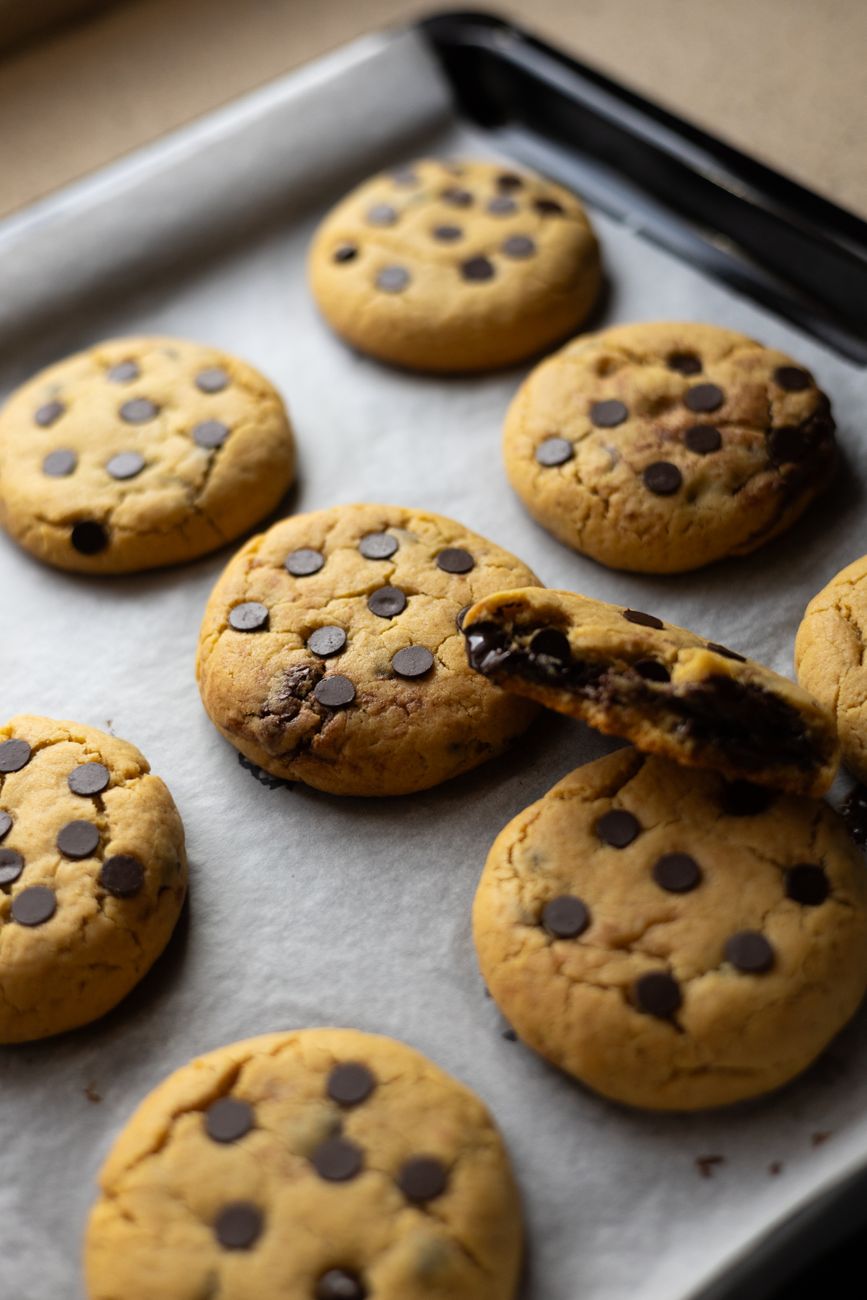
Here’s exactly what you’ll need, and why each ingredient earns its spot in this recipe.
- Almond flour (blanched, fine grind): The base of the cookie. Fine, blanched almond flour gives you a smoother texture than almond meal, which can make cookies grainy.
- Butter, melted: Adds richness and helps create that chewy texture we talked about earlier.
- Egg + 1 egg yolk: Provides structure and moisture without gluten.
- Keto sweetener (monk fruit/allulose blend recommended): Sweetens the dough while helping keep it soft.
- Vanilla extract: Rounds out the flavor and balances the slight bitterness some sweeteners can have.
- Baking soda: Helps the cookies rise just slightly and spread evenly.
- Salt: Enhances every other flavor in the cookie — don’t skip it.
- Sugar-free chocolate chips: Look for a brand sweetened with monk fruit or allulose for the best melt and flavor.
- Optional: 1 tbsp sour cream or cream cheese: My “insurance” ingredient for extra-soft cookies that stay soft for days.
Almond Flour vs Coconut Flour
People often ask if they can swap almond flour for coconut flour in this recipe. Short answer: not directly. Here’s why.
| Feature | Almond Flour | Coconut Flour |
|---|---|---|
| Texture | Soft, tender, close to wheat flour | Dense, dry, absorbs a lot of liquid |
| Ratio Needed | 1:1 in most recipes | Only 1/4 to 1/3 the amount of almond flour |
| Moisture Absorption | Moderate | Very high — needs extra eggs or liquid |
| Best For | Cookies, cakes, soft baked goods | Denser baked goods, pancakes, muffins |
| Flavor | Neutral, slightly nutty | Slightly sweet, coconut flavor |
If you want to try coconut flour, you’ll need to cut the amount drastically and add extra egg or liquid to compensate. For this specific cookie, I strongly recommend sticking with almond flour for the best texture.
Butter vs Coconut Oil
Both fats work, but they give you different results:
- Butter creates a richer flavor and a chewier texture, thanks to the milk solids and how it firms up as it cools.
- Coconut oil works well for a dairy-free version, but cookies made with coconut oil tend to spread a bit more and firm up very quickly once cooled, sometimes leading to a slightly harder cookie.
My recommendation: use butter if you can. If you need dairy-free, coconut oil is a solid substitute — just chill the dough a few extra minutes before baking to control spreading.
Before you get started, a quick note: if you’ve ever felt overwhelmed trying to understand keto flours, sweeteners, and ratios, you’re not alone — I felt exactly the same way for months. This is actually why I recommend The Ultimate Keto Baking Bundle so often. It breaks down these exact ingredient swaps in a way that finally made keto baking click for me, and it’s saved me from wasting a lot of expensive almond flour on failed experiments.
Step-by-Step Instructions
What You’ll Need
- 1 large mixing bowl
- A whisk or hand mixer
- A baking sheet lined with parchment paper
- A cookie scoop (or a spoon, if that’s what you’ve got)
Instructions
- Preheat your oven to 350°F (175°C). Line your baking sheet with parchment paper. This small step prevents sticking and helps with even baking.
- Melt the butter, then let it cool for about 5 minutes. Adding hot butter directly to your egg can accidentally cook the egg, so don’t skip this cooling step.
- Whisk the melted butter, egg, egg yolk, sweetener, and vanilla extract together until smooth and slightly glossy.
- Add the almond flour, baking soda, and salt. Stir gently until just combined. Overmixing at this stage can make cookies tough, so stop as soon as you don’t see dry flour.
- Fold in the chocolate chips. Save a small handful to press on top of the cookies later — this is a simple trick bakeries use to make cookies look bakery-style.
- Chill the dough for 10 minutes. This step matters more than it seems. It firms up the fat and prevents the cookies from spreading too thin in the oven.
- Scoop the dough into balls (about 1.5 tablespoons each) and place them on the baking sheet, leaving space between each one.
- Press a few extra chocolate chips on top of each dough ball for that beautiful bakery look.
- Bake for 9–11 minutes, until the edges are just turning golden but the centers still look slightly underdone. Remember, they’ll keep cooking after you pull them out.
- Let the cookies rest on the baking sheet for 10 minutes before moving them. This is the step most people skip, and it’s the single biggest reason cookies fall apart when moved too early.
Expert Tips for Perfectly Soft and Chewy Cookies
Baking Tip: Always use a kitchen scale if you have one. Almond flour can vary a lot by brand and by how it’s scooped, and even a small difference can throw off your texture.
- Slightly underbake rather than overbake — this is the single biggest factor in soft cookies
- Chill the dough, even if it’s just for 10 minutes
- Use room temperature eggs so they blend smoothly into the melted butter
- Don’t flatten the dough balls before baking; they’ll spread naturally in the oven
- Let cookies cool completely before storing, or trapped steam will make them soggy
Common Baking Mistakes and How to Avoid Them
| Mistake | Why It Happens | How to Fix It |
|---|---|---|
| Cookies spread too thin | Dough too warm, too much fat, or oven too cool | Chill dough before baking; check oven temp with a thermometer |
| Cookies are dry and crumbly | Overbaked, or too much almond flour | Pull cookies out slightly early; measure flour by weight |
| Cookies taste bitter | Too much sweetener, especially stevia | Reduce sweetener slightly or switch blends |
| Cookies fall apart when moved | Moved too soon, before they set | Let cool 10 minutes on the tray before transferring |
| Chocolate chips sink to the bottom | Dough too thin or chips added too early | Chill dough first; fold in chips gently at the end |
If you’ve made any of these mistakes before (I’ve made every single one), don’t worry — it’s part of learning keto baking. That said, if you’d rather skip the trial and error entirely, The Ultimate Keto Baking Bundle walks through these exact troubleshooting scenarios recipe by recipe, which has saved me a lot of wasted ingredients over the past year.
Ingredient Substitutions
- No almond flour? Sunflower seed flour works as a nut-free option, though the flavor is slightly earthier.
- No butter? Coconut oil works, but expect a slightly firmer cookie once cooled.
- No sugar-free chocolate chips? Chop a sugar-free chocolate bar instead — it often melts more smoothly than chips.
- Egg allergy? A flax egg (1 tbsp ground flaxseed + 3 tbsp water) can work, though the texture will be a bit denser.
Flavor Variations
Once you’ve mastered the base recipe, it’s fun to play around:
- Double chocolate: Add 2 tablespoons of unsweetened cocoa powder to the dry ingredients
- Salted caramel style: Drizzle with a keto caramel sauce and add flaky sea salt on top
- Nutty crunch: Fold in chopped pecans or walnuts along with the chocolate chips
- Cinnamon spice: Add ½ teaspoon of cinnamon for a warm, cozy flavor twist
- Peanut butter chocolate chip: Replace 2 tablespoons of butter with peanut butter
Homemade vs Store-Bought Keto Cookies
I get asked often whether it’s worth making keto cookies from scratch instead of buying packaged ones. Here’s my honest comparison:
| Factor | Homemade | Store-Bought |
|---|---|---|
| Cost | Usually cheaper per cookie | Often expensive for small portions |
| Freshness | Warm, soft, straight from the oven | Can taste stale or overly processed |
| Ingredient Control | You choose exactly what goes in | Often contains fillers or gums |
| Texture | Customizable to your taste | Inconsistent between brands |
| Convenience | Takes about 20 minutes | Instant, but limited flavor options |
Store-bought cookies definitely have their place on a busy day, but once you get comfortable with a recipe like this one, homemade wins on taste and cost almost every time.
How to Store Keto Cookies
- Store cookies in an airtight container at room temperature for up to 4 days
- Place a piece of parchment paper between layers to prevent sticking
- Keep them away from direct sunlight or heat, which can melt the chocolate chips
How to Freeze Keto Cookies
These cookies freeze beautifully, which makes them perfect for meal prepping a sweet treat.
To freeze baked cookies:
- Let cookies cool completely
- Place them in a single layer on a tray and freeze for 1 hour
- Transfer to a freezer-safe bag or container
- Store for up to 3 months
To freeze cookie dough:
- Scoop dough into balls
- Freeze on a tray until firm (about 1 hour)
- Transfer to a freezer bag
- Bake straight from frozen, adding 2–3 extra minutes to the bake time
Serving Ideas
- Sandwich two cookies around a scoop of low carb vanilla ice cream
- Crumble over keto yogurt for a quick parfait
- Serve warm with a glass of unsweetened almond milk
- Pack a few in a container for a low carb lunchbox treat
- Melt a little extra chocolate on top for a special-occasion version
Frequently Asked Questions
1. Why are my keto cookies flat? This usually happens when the dough is too warm or there’s too much fat compared to flour. Chilling the dough for at least 10 minutes before baking helps a lot.
2. Can I use a different sweetener than what’s listed? Yes, but results will vary. Allulose and monk fruit blends give the softest texture, while erythritol alone can make cookies firmer as they cool.
3. Why do keto cookies taste bitter? This is often from using too much sweetener, especially stevia. Try reducing the amount slightly or switching to a monk fruit blend.
4. Can I make this recipe dairy-free? Yes, substitute the butter with coconut oil. The texture will be slightly firmer, but still delicious.
5. How do I know when keto cookies are done baking? Look for lightly golden edges while the center still looks a little soft. They’ll continue cooking as they cool on the tray.
6. Can I double this recipe? Absolutely. Just make sure to bake in batches so the cookies have enough space to spread evenly.
7. Why did my chocolate chips melt into the dough instead of holding shape? This can happen if the dough is too warm when you add the chips, or if you use a chocolate chip that isn’t formulated to hold its shape when baked. Chilling the dough helps.
8. Can I make these into cookie bars instead? Yes! Press the dough into a lined baking pan and add a few extra minutes to the bake time.
9. Is almond flour the same as almond meal? No. Almond flour is finer and made from blanched almonds, giving a smoother texture. Almond meal is coarser and includes the skins, which can make baked goods denser.
10. How many carbs are in each cookie? This will vary slightly depending on the exact brands you use, so I recommend calculating this with your specific ingredients using a nutrition calculator for the most accurate number.
11. Can beginners really make these successfully? Yes! This recipe was designed with beginners in mind. Following the steps closely, especially the chilling and cooling steps, will get you great results even on your first try.
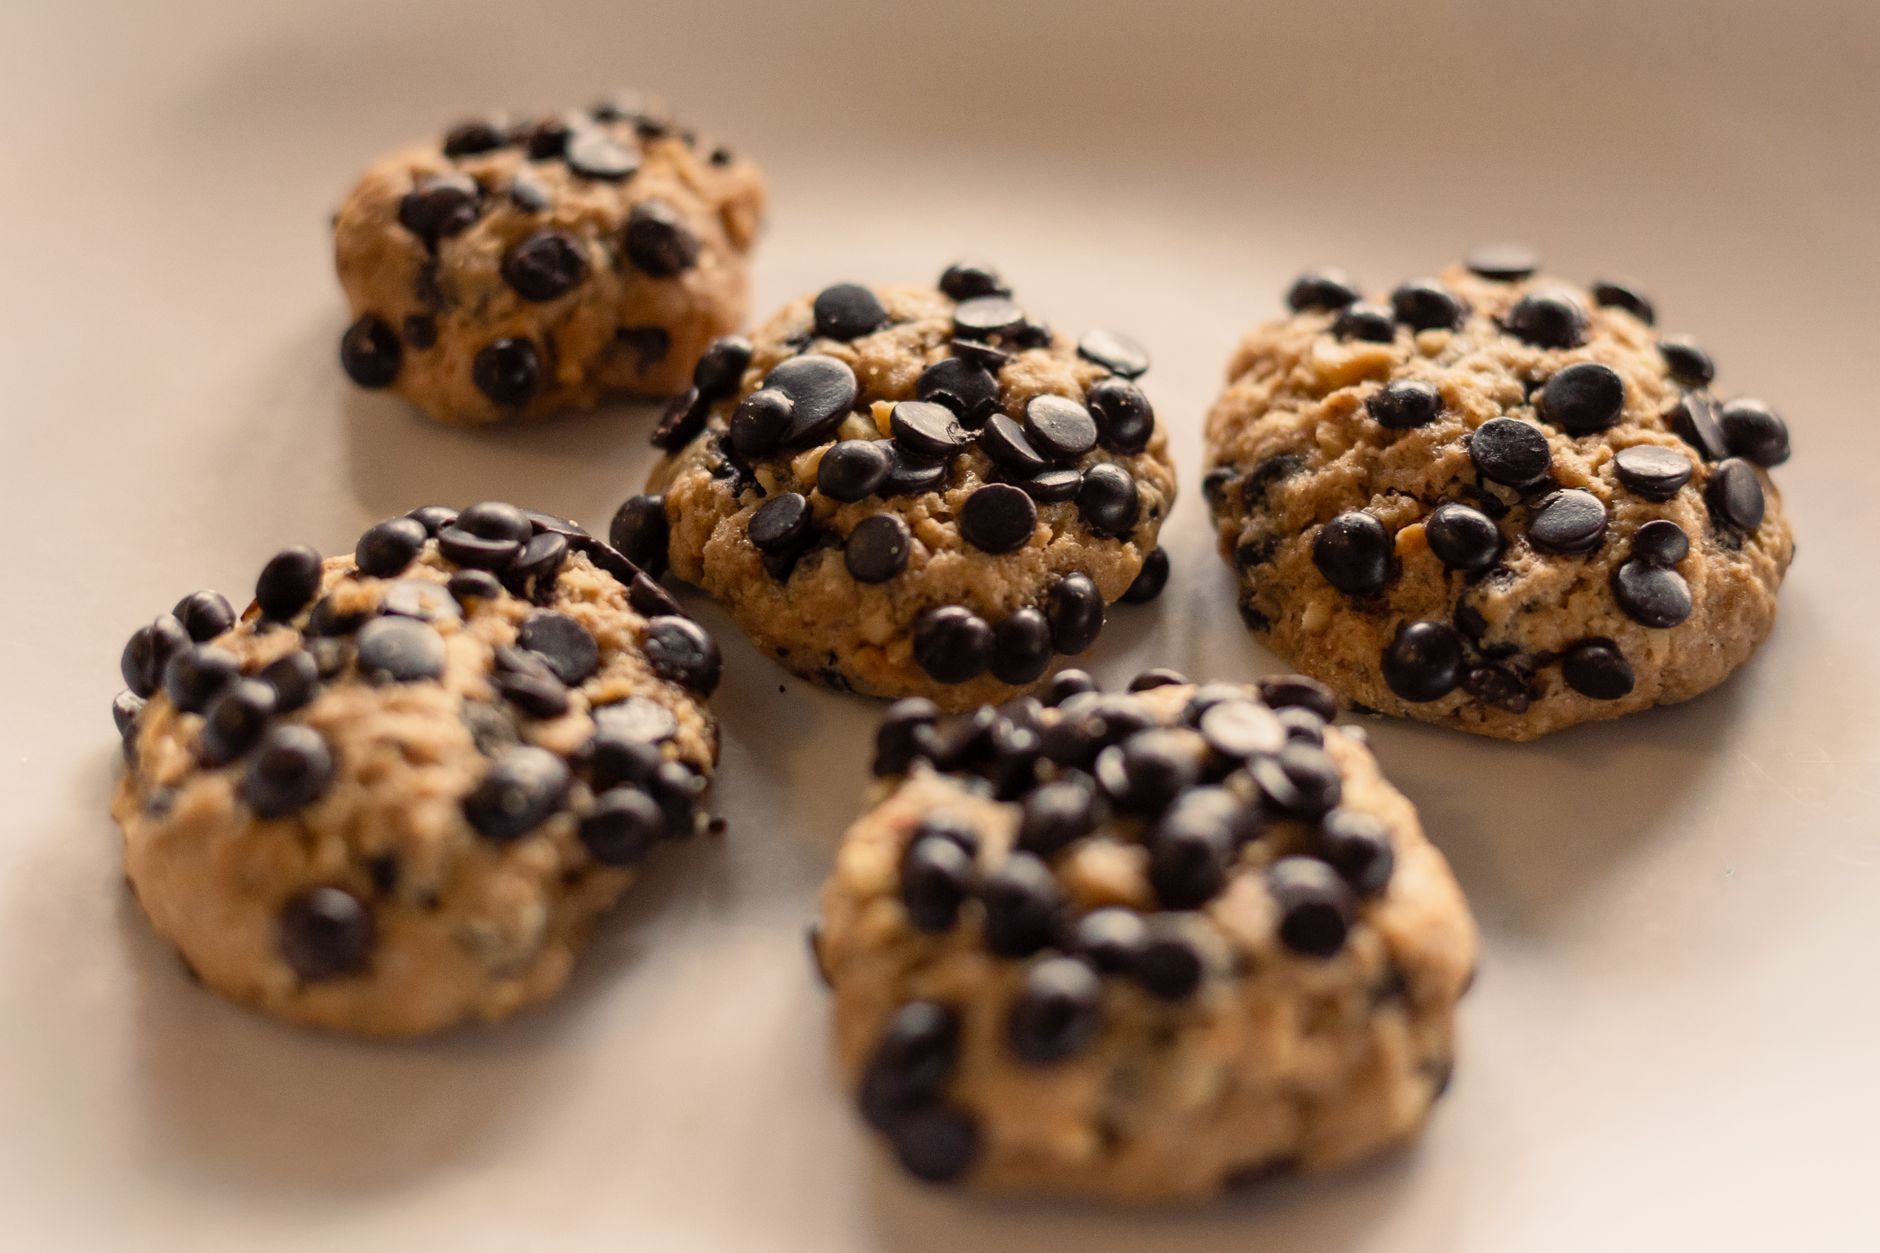
Final Thoughts
If there’s one thing I want you to take away from this post, it’s that keto baking doesn’t have to be a disappointing trade-off. You don’t have to settle for dry, crumbly cookies just because you’re eating low carb. With the right ingredients, a few key techniques, and a little patience while they cool, you can make cookies that are soft, chewy, and genuinely delicious — the kind of cookies you’d be proud to serve to anyone, keto or not.
I hope this recipe becomes one of your regulars, the way it’s become one of mine. And if you find yourself falling in love with keto baking the way I did, I really do recommend spending some time with The Ultimate Keto Baking Bundle. It’s helped me turn “pretty good for keto” into consistently delicious, bakery-quality treats, and it’s the resource I keep coming back to whenever I want to try something new.
Go preheat that oven. Your soft, chewy keto chocolate chip cookies are about 20 minutes away.
